
List Manager Tutorial
List Manager 6: the Quick Setup wizard (build a list in one click)
Every other tutorial in this series builds a list step by step: register it, then open Fields/Columns, then Display, then Data Layout, then Pagination… Quick Setup is the shortcut — point it at an existing database table and it does all of that for you in one click, ready to publish immediately.
Where to find it
Open Components → List Manager. The bolt-icon Quick Setup button sits right next to Add on the main toolbar.
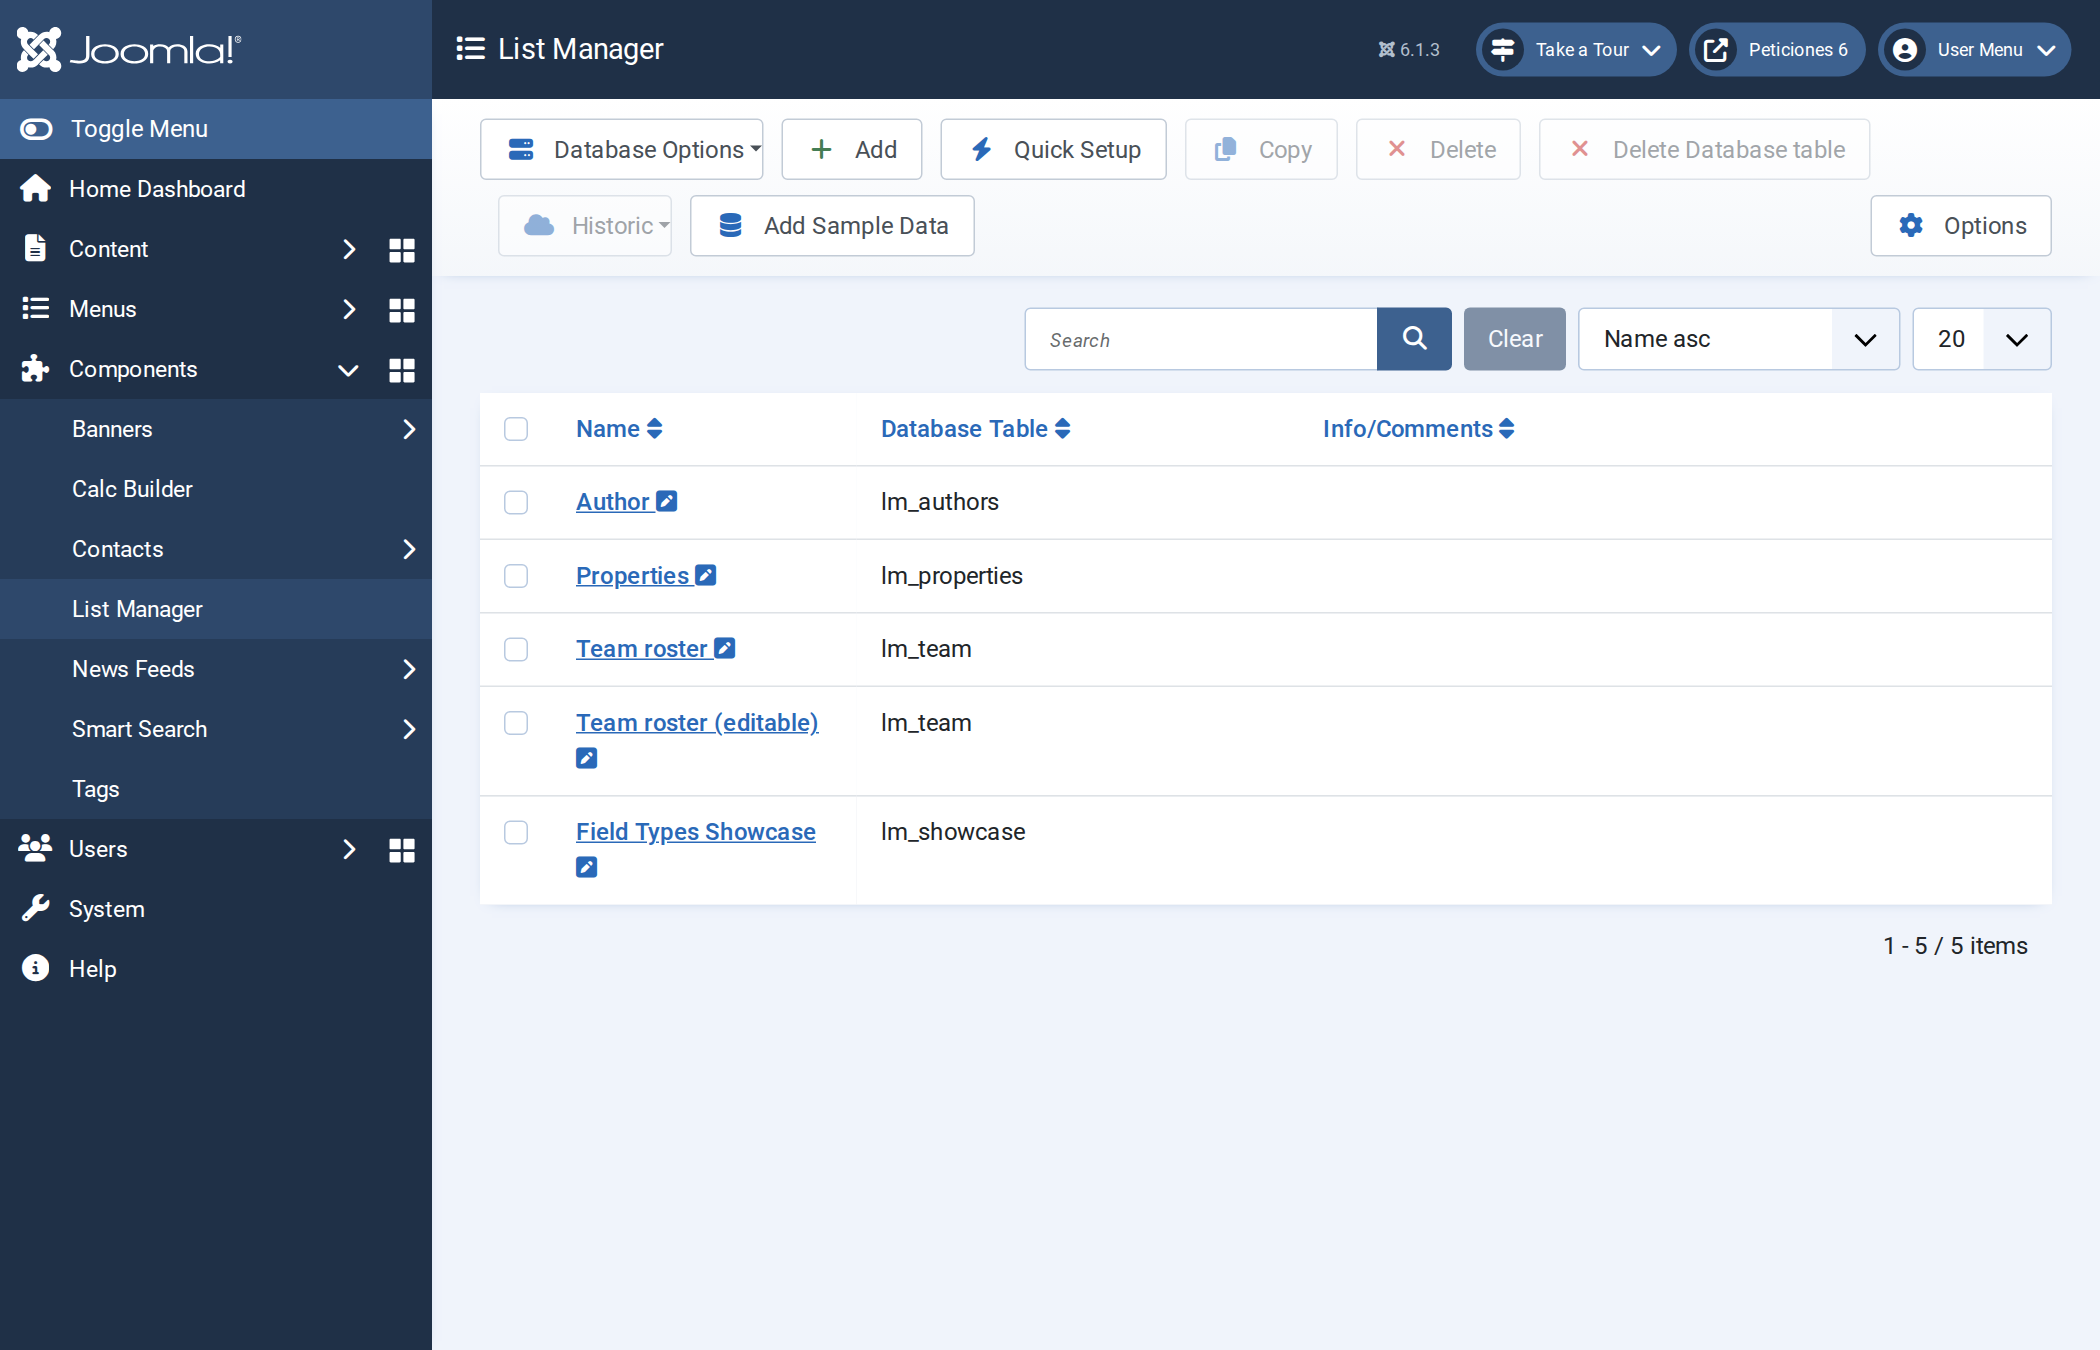
Filling in the wizard
- Click Quick Setup.
- Type a List Name — this is what you and your editors will see in the admin.
- Choose an existing table in Database Table. Quick Setup only works with a table that already has data columns to read — use Database Options → New table first if you don't have one yet (see creating a list from a table).
- Click Save & Close.
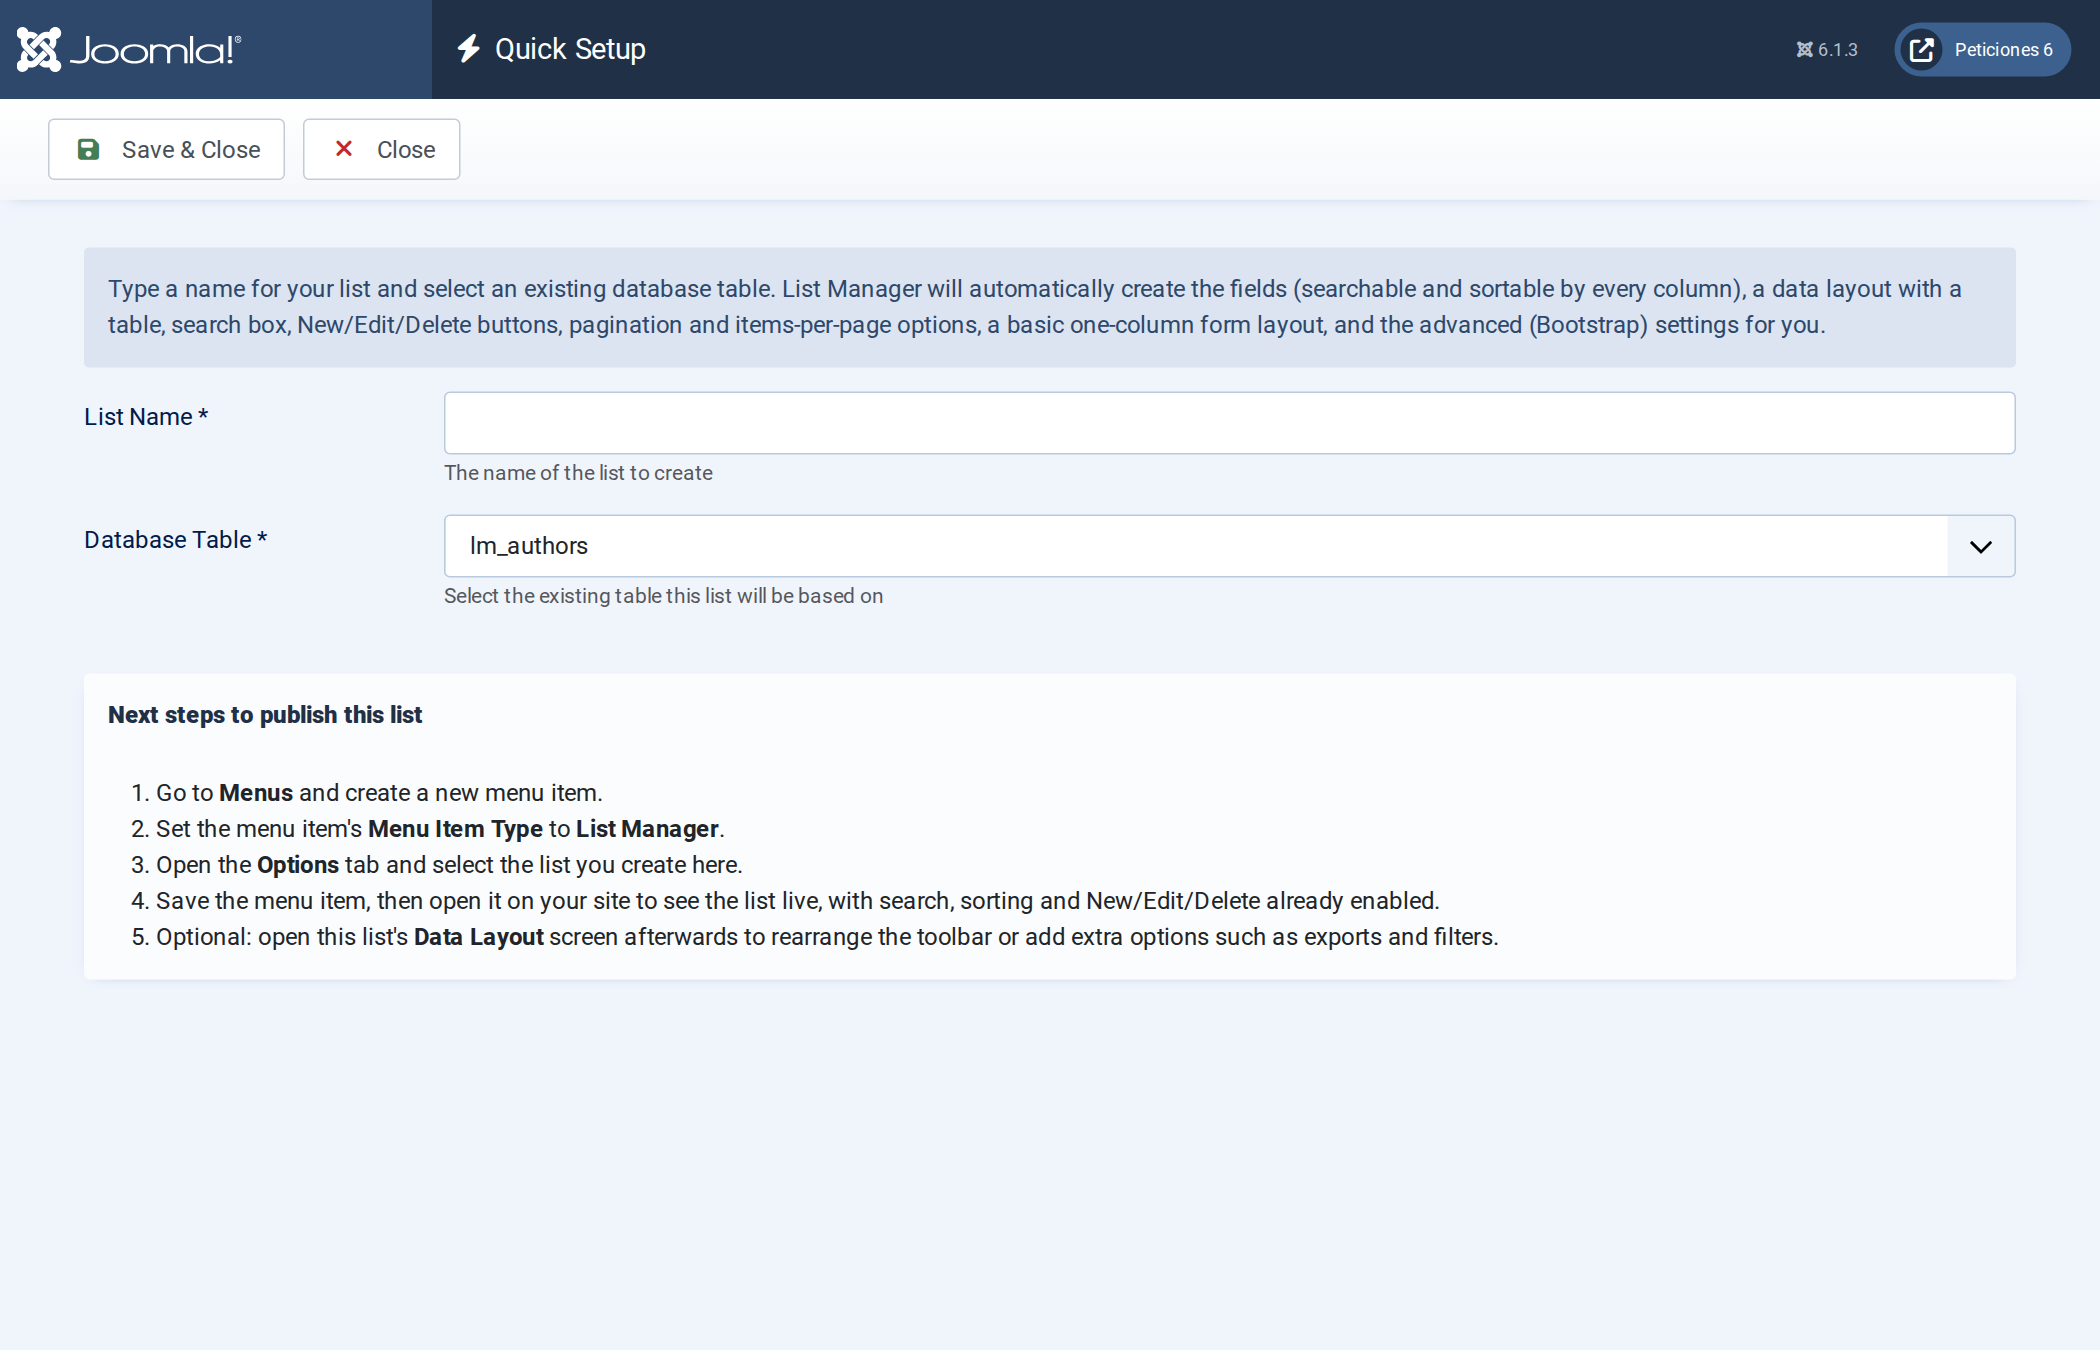
The screenshots below use a small demo table, lm_tasks (a task
tracker: title, assignee, due date, priority, notes, created-at), named Task Tracker.
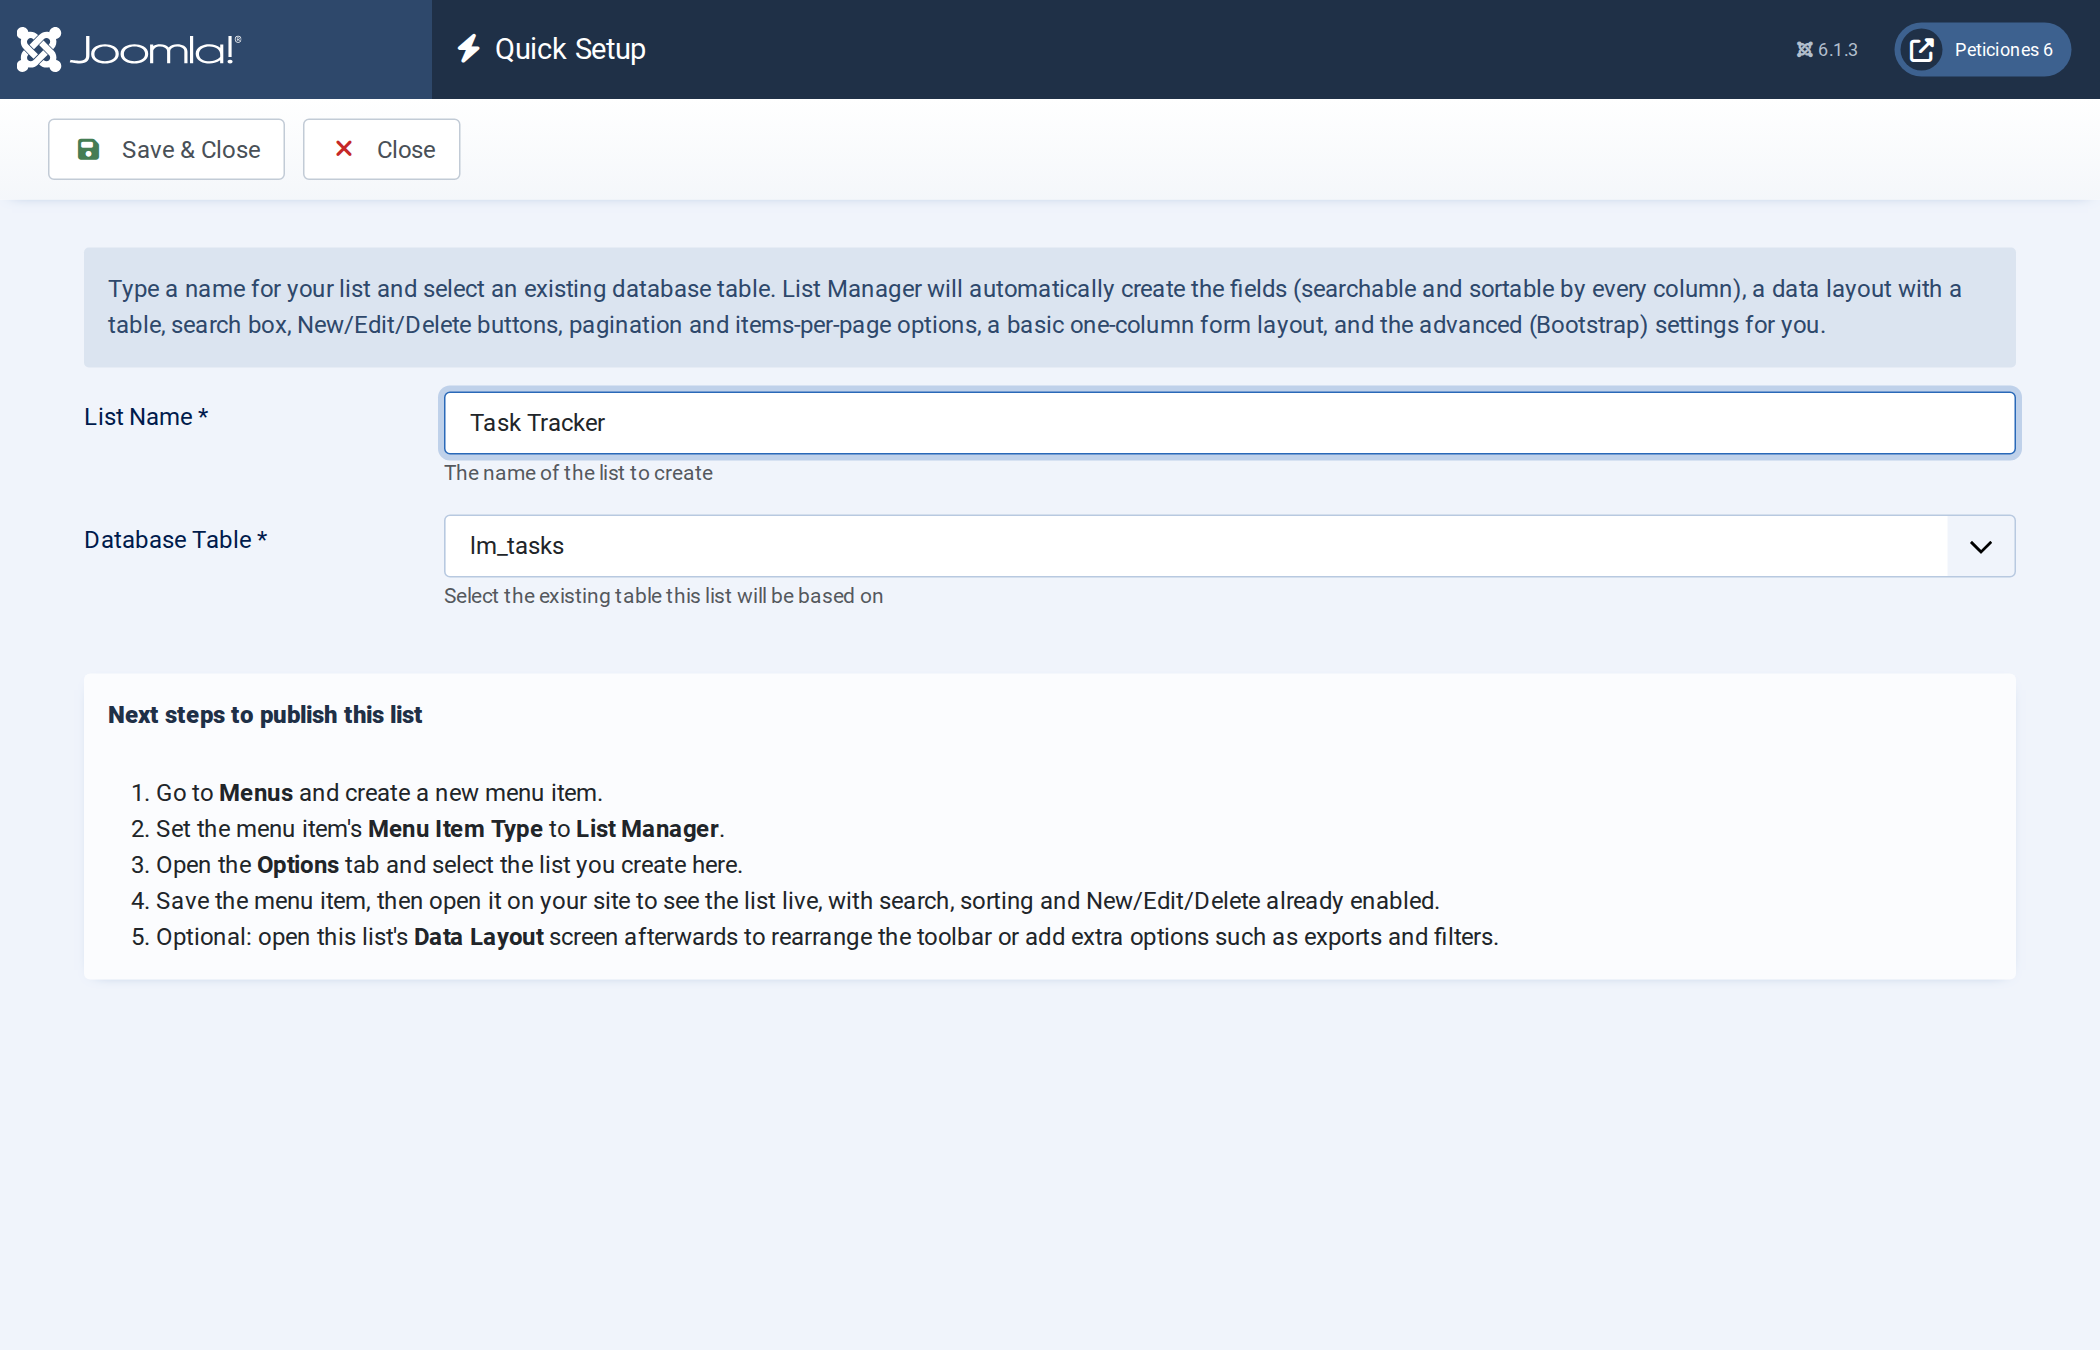
On save you land back on the main List Manager page with a confirmation message, and the new list already in the grid:
What Quick Setup builds for you
Behind that one click, Quick Setup reads every column of the table and configures the same four screens you would otherwise visit by hand:
- Fields/Columns — one field per database column, made visible,
searchable and sortable out of the box. The column name is turned into a
readable title (
due_date→ Due Date) and the type is guessed from the column's MySQL type:
| MySQL column type | List Manager field type |
|---|---|
INT, TINYINT, BIGINT, FLOAT, DOUBLE, DECIMAL… | Number |
DATE | Date |
DATETIME, TIMESTAMP | Datetime |
TEXT, TINYTEXT, MEDIUMTEXT, LONGTEXT | Textarea |
BLOB and variants | Upload File |
VARCHAR, CHAR (default for anything else) | Text |
any column with AUTO_INCREMENT | Autoincrement |
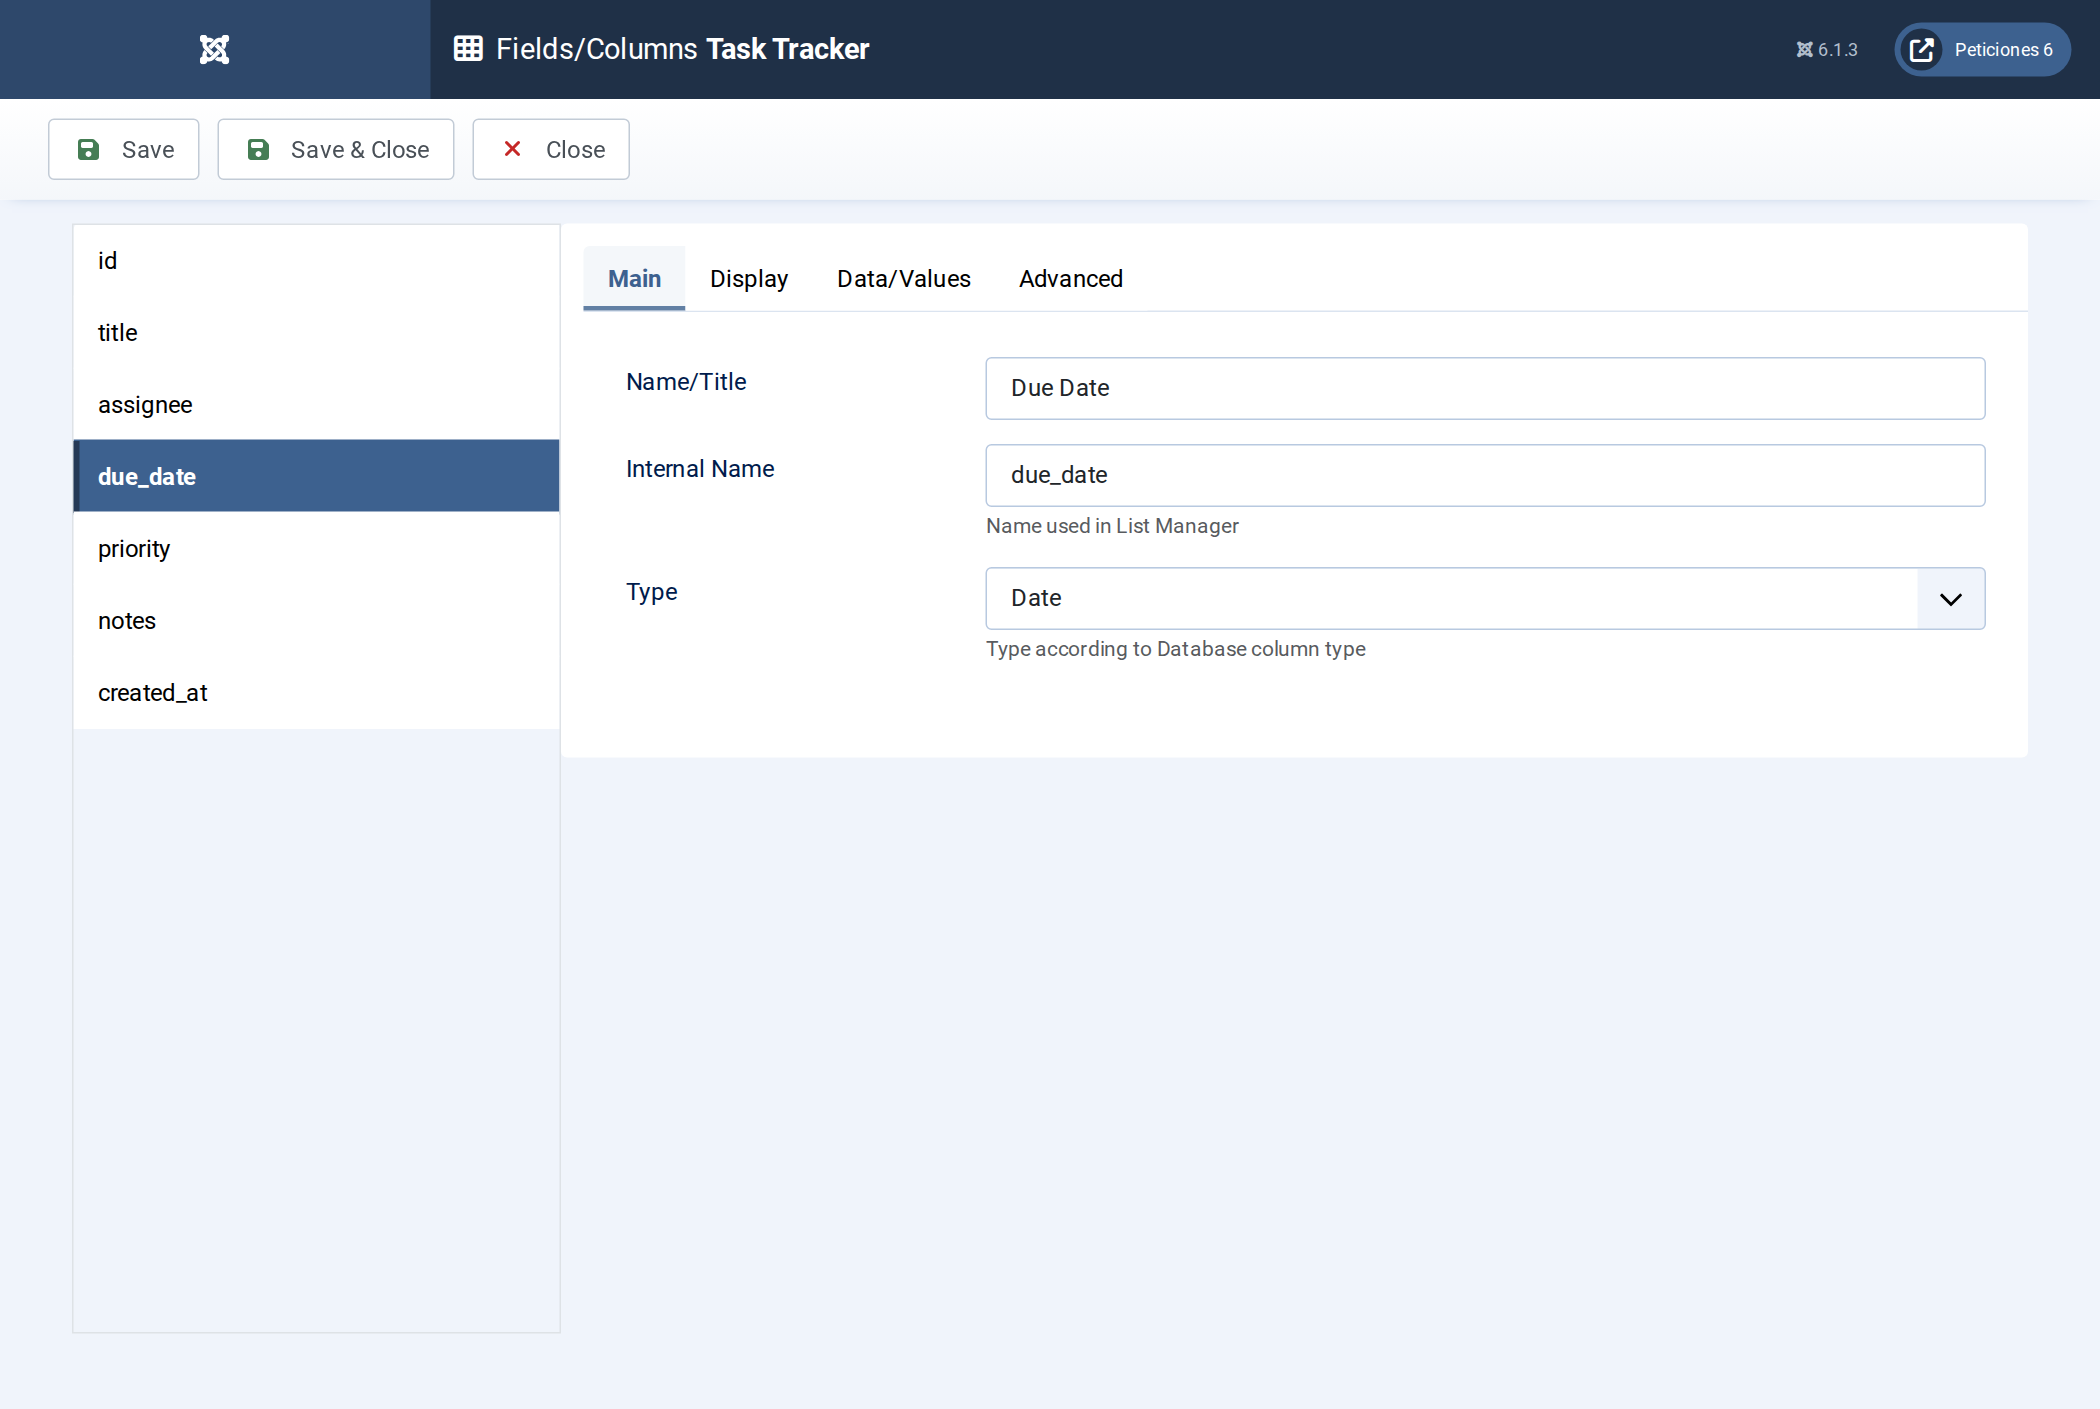
Open Fields/Columns on the new list to see it: the demo's
due_date column (a DATE column) was named Due Date and typed
Date automatically.
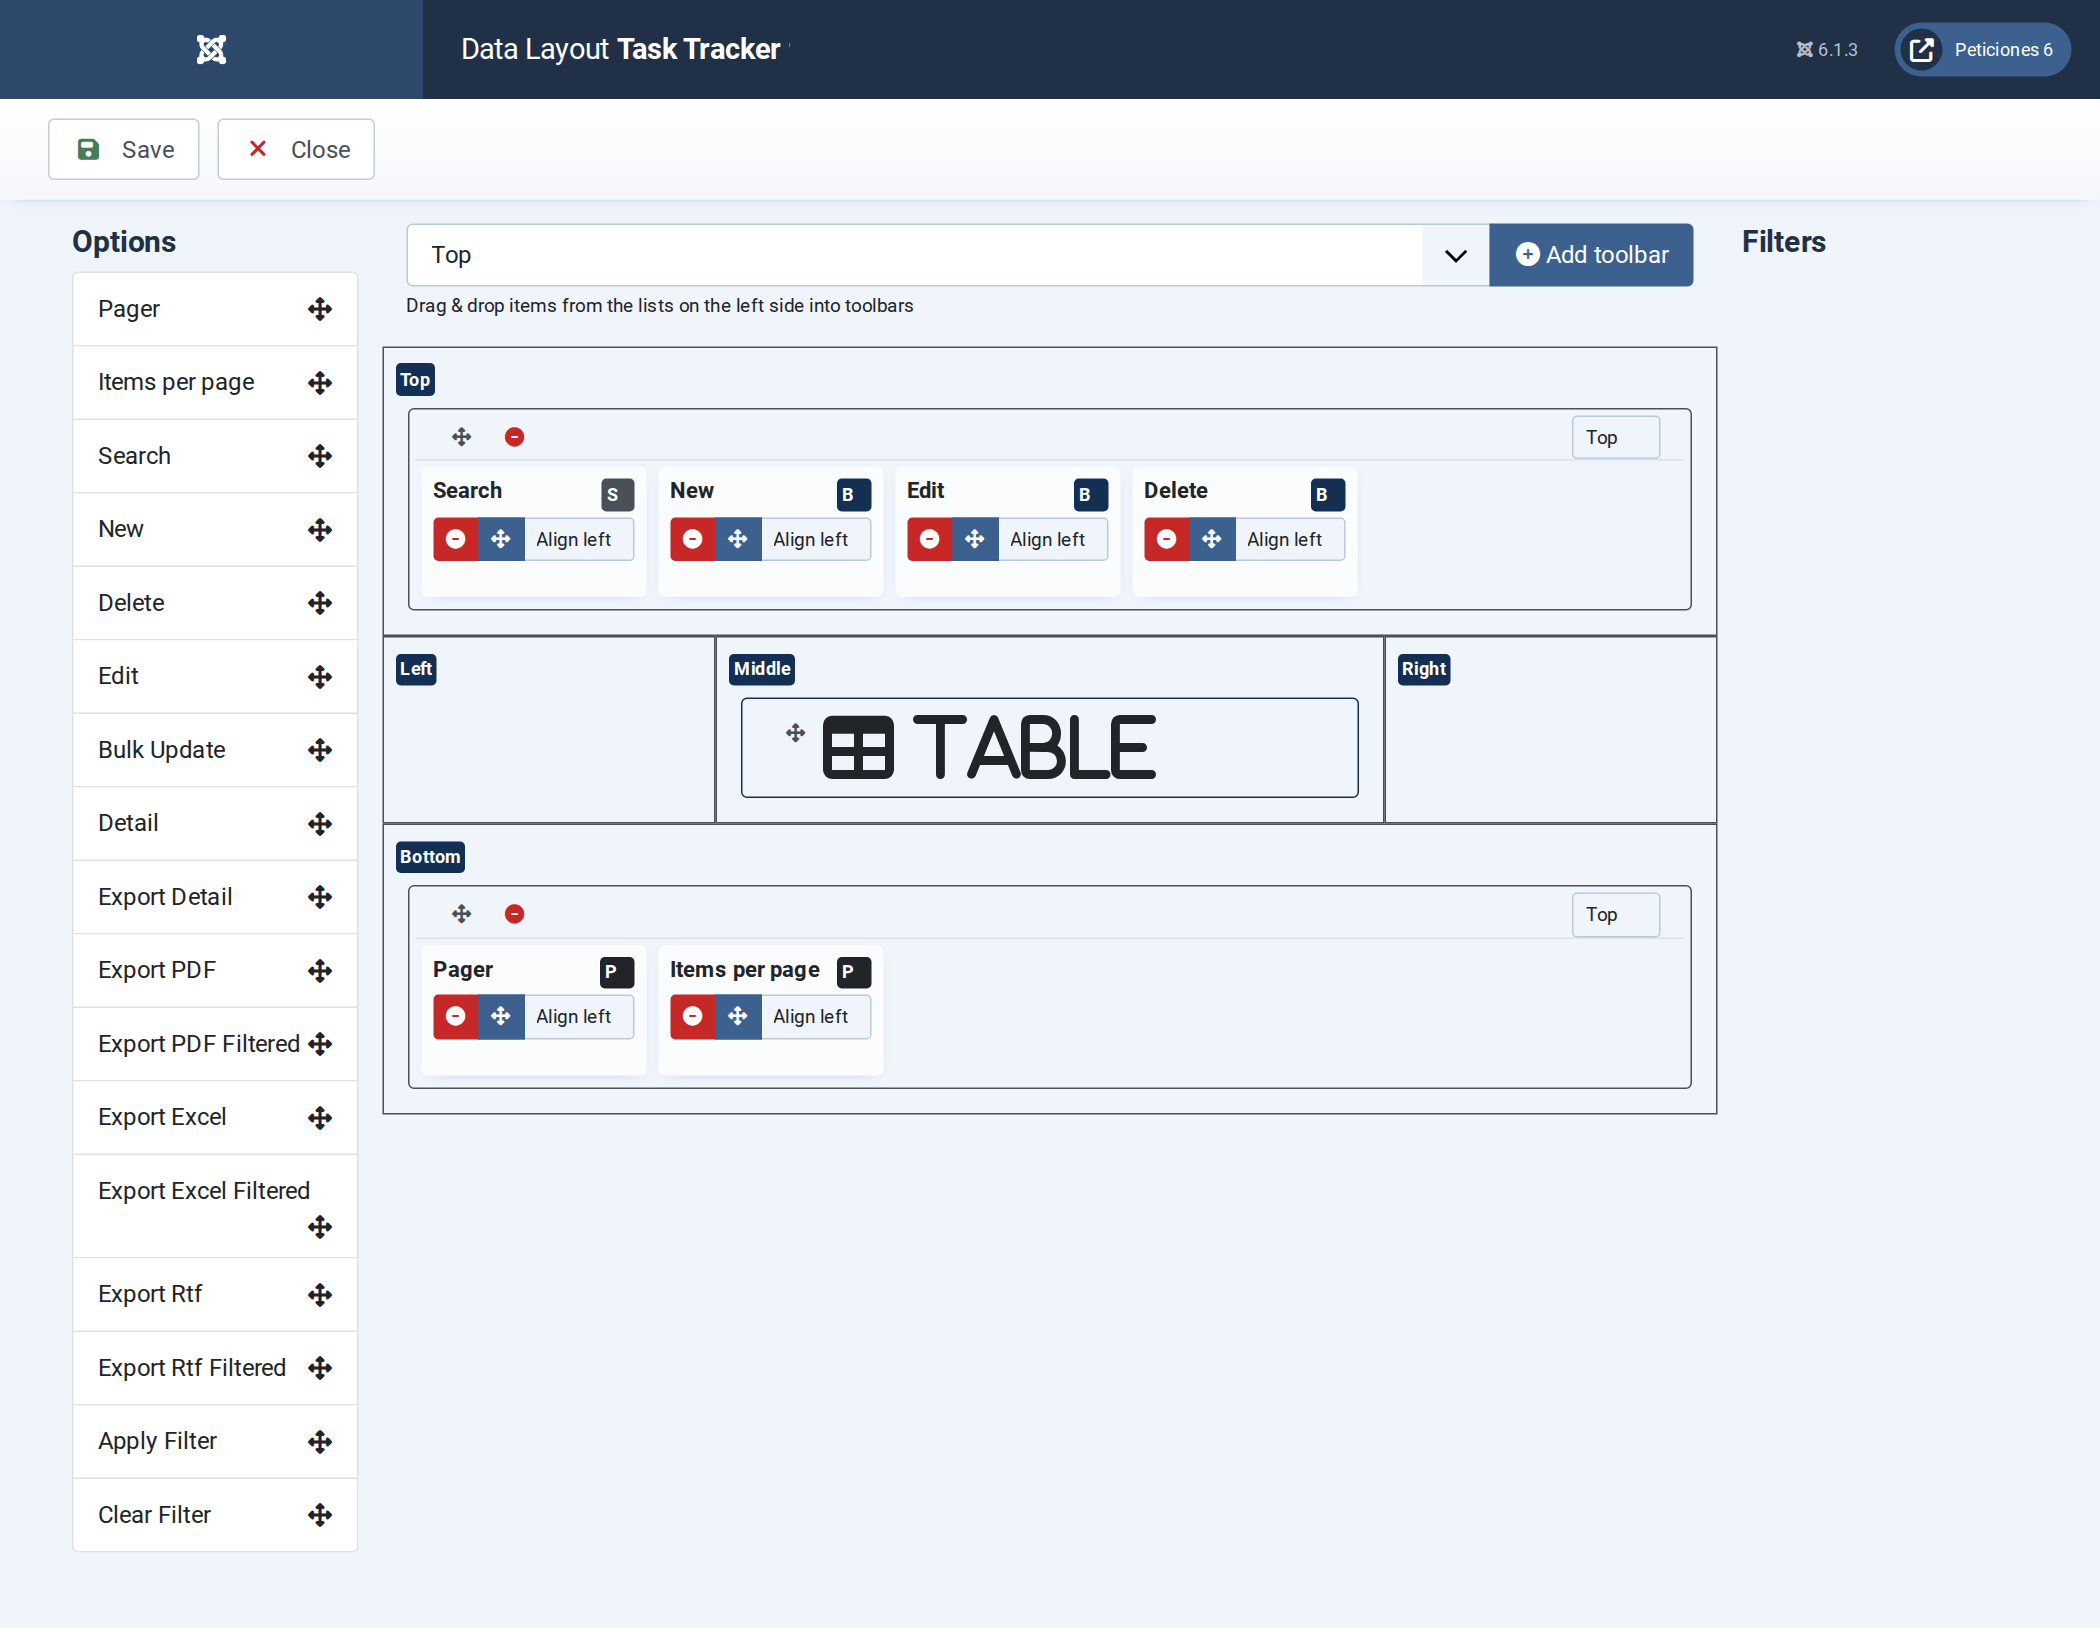
- Data Layout — a ready-made toolbar: Search + New + Edit + Delete on top, the data table in the middle, and pagination + items-per-page at the bottom. (New/Edit/Delete are left out automatically if the table turns out to be a database view, since views aren't writable.)
- Form Layout — a plain one-field-per-row form listing every visible column (the same shape as the admin's own “1 Column” form-layout generator), ready to fill in on the Display screen later if you want a custom arrangement.
- Pagination — a “Display” drop-down with 10 / 25 / 50 / 100 / All choices, defaulting to 10 per page.
- Advanced — Use Bootstrap switched on, so the form renders with standard Bootstrap styling immediately.
Publishing it
Quick Setup only builds the configuration — it still needs a menu item, exactly like any other list (full details in publishing a list):
- Go to Menus and create a new menu item.
- Set its Menu Item Type to List Manager.
- Open the Options tab and select the list you just created.
- Save, then open the menu item on your site.
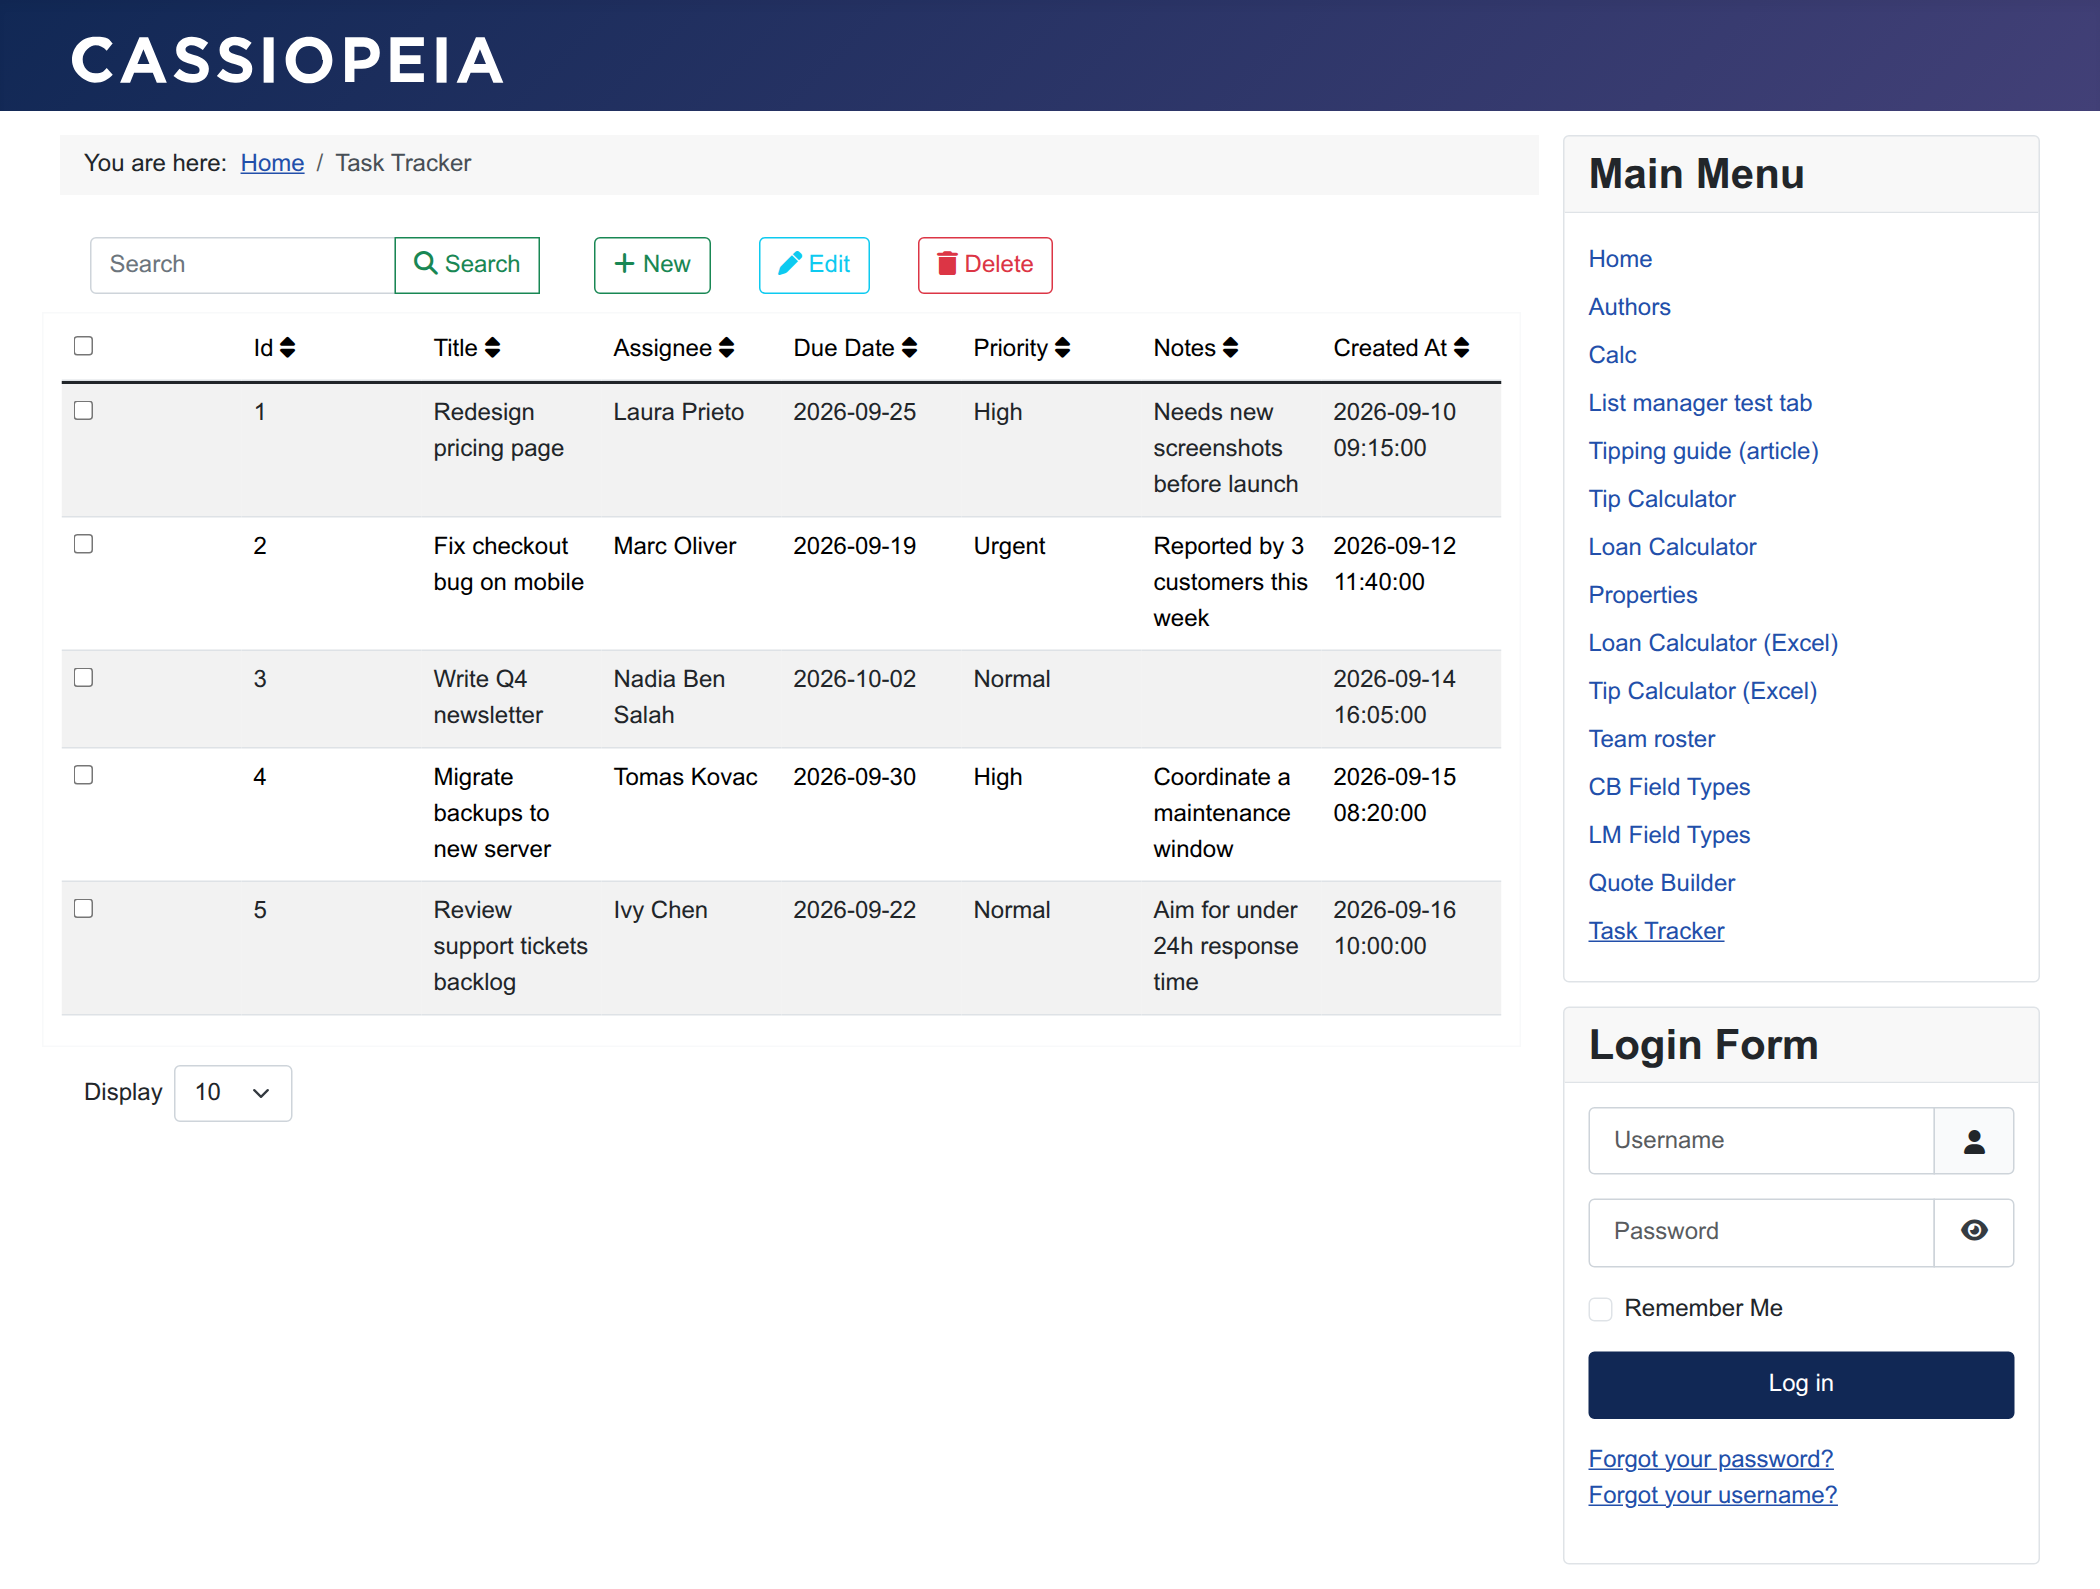
Before you point visitors at it: Quick Setup does not set any access restrictions — every visitor, including anonymous ones, can see New, Edit and Delete exactly like in the screenshot above. Set the menu item's Access level, or come back to this list's Data Layout screen to remove buttons you don't want public, before sharing the link. See two lists on one table for a worked example of a public read-only view next to a restricted editable one.
When to use it
Quick Setup is a starting point, not a replacement for the other screens — it is the fastest way to get from a database table to a working, styled list, especially for a first draft or a quick internal tool. Everything it writes is completely normal List Manager configuration: open Fields/Columns, Display or Data Layout straight after and refine field types, add filters or exports, or rearrange the toolbar — nothing about having used Quick Setup locks you out of the manual screens. If you would rather assemble a list yourself, one screen at a time, see the manual Quick Start walkthrough instead.