
List Manager Tutorial
Example: two lists on one table — public view + staff editing
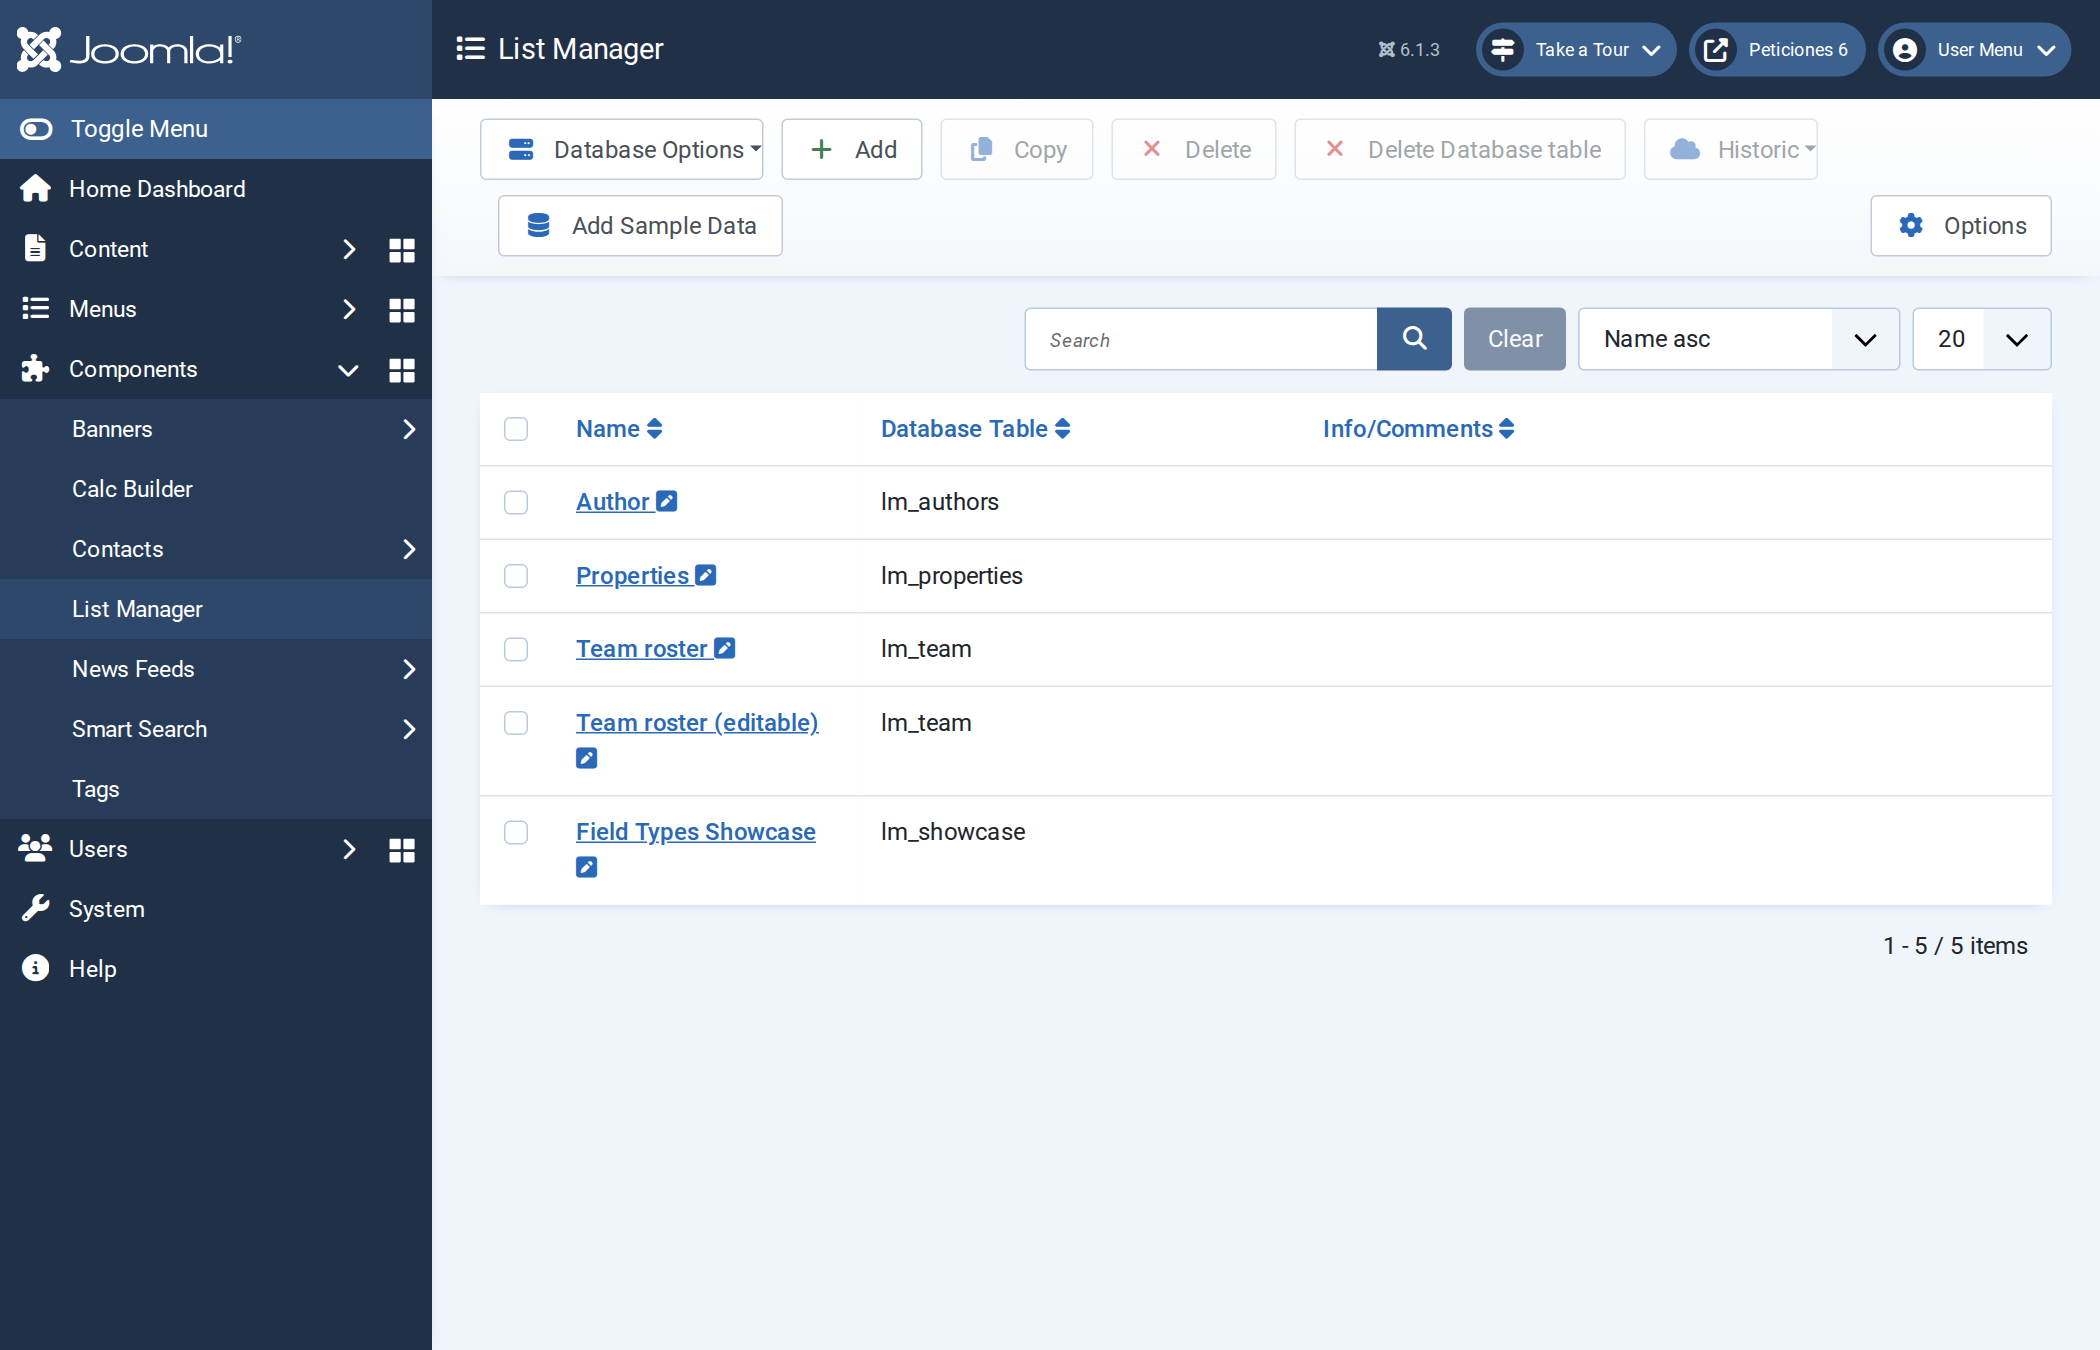
A common need: the same data should be read-only for the public but editable by staff on the front end. You do it with two List Manager lists that point at the same database table and two menu items with different Joomla Access levels — no coding, no duplicated data.
The idea
- One database table (here
lm_team) holds the records. - List A — “Team roster”: a read-only configuration (search + table + pager, nothing else).
- List B — “Team roster (editable)”: the same columns plus the New, Edit, Bulk Update and Delete buttons, and some columns marked Editable / Bulk.
- Menu item A → List A, Access = Public.
- Menu item B → List B, Access = Registered (or a custom “Staff” view level). Guests never even see this menu link.
1. The table
Create the table once — with Database Options or
in your database tool. The demo lm_team has name, role,
department, email, phone, extension,
start_date.
2. List A — the public, read-only view
- Add → name it Team roster → Database Table
lm_team→ Save. - Fields/Columns: turn on Visible for the columns to show; leave every Editable and Bulk box off.
- Data Layout: keep only Search, the TABLE and the pager. Do not add New / Edit / Delete.
3. List B — the staff, editable view
The fastest way is to Copy List A, rename it Team roster (editable), and then:
- Fields/Columns: turn on Editable (and Bulk where useful) for the columns staff may change — e.g. role, department, phone, extension. Leave key/identity columns locked.
- Data Layout: drag in New, Edit, Bulk Update and Delete from the Options list.
- Design the add/edit form on Form Layout with
##column##placeholders.
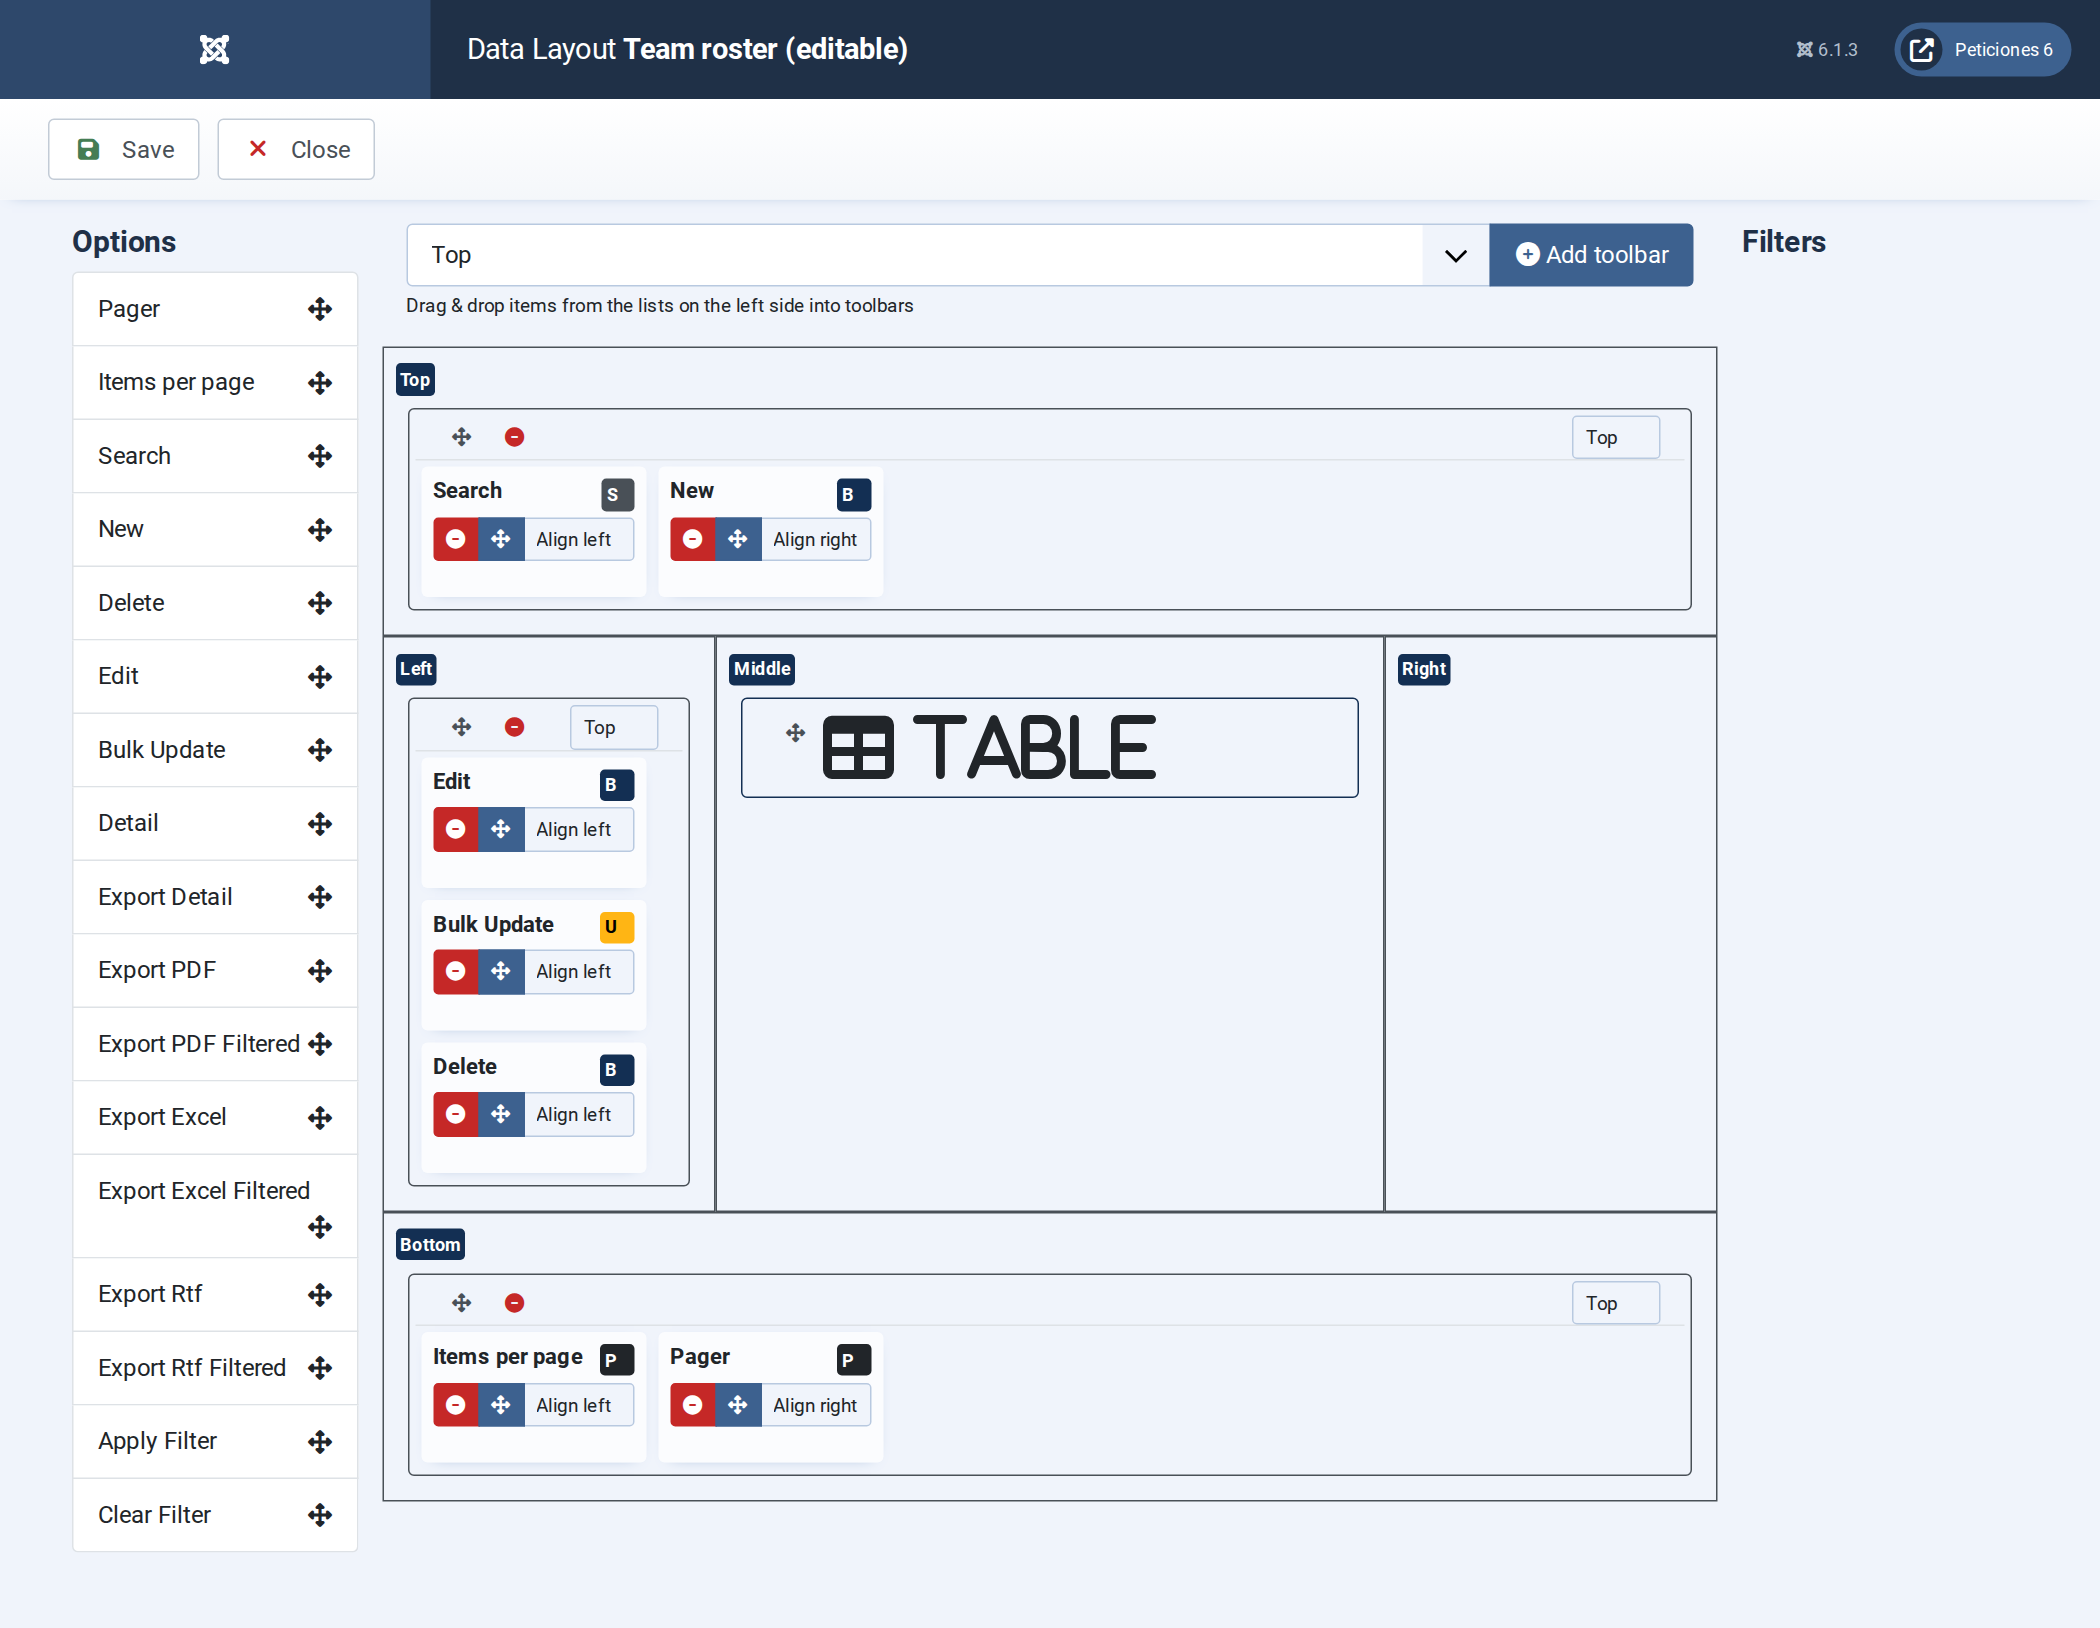
Both lists read and write the same rows. An edit made through List B is instantly visible in List A.
4. Two menu items with different Access
Create one menu item per list (type List Manager → List Manager, pick the list on the Options tab), then set the Access field in the right-hand column of the Details tab:
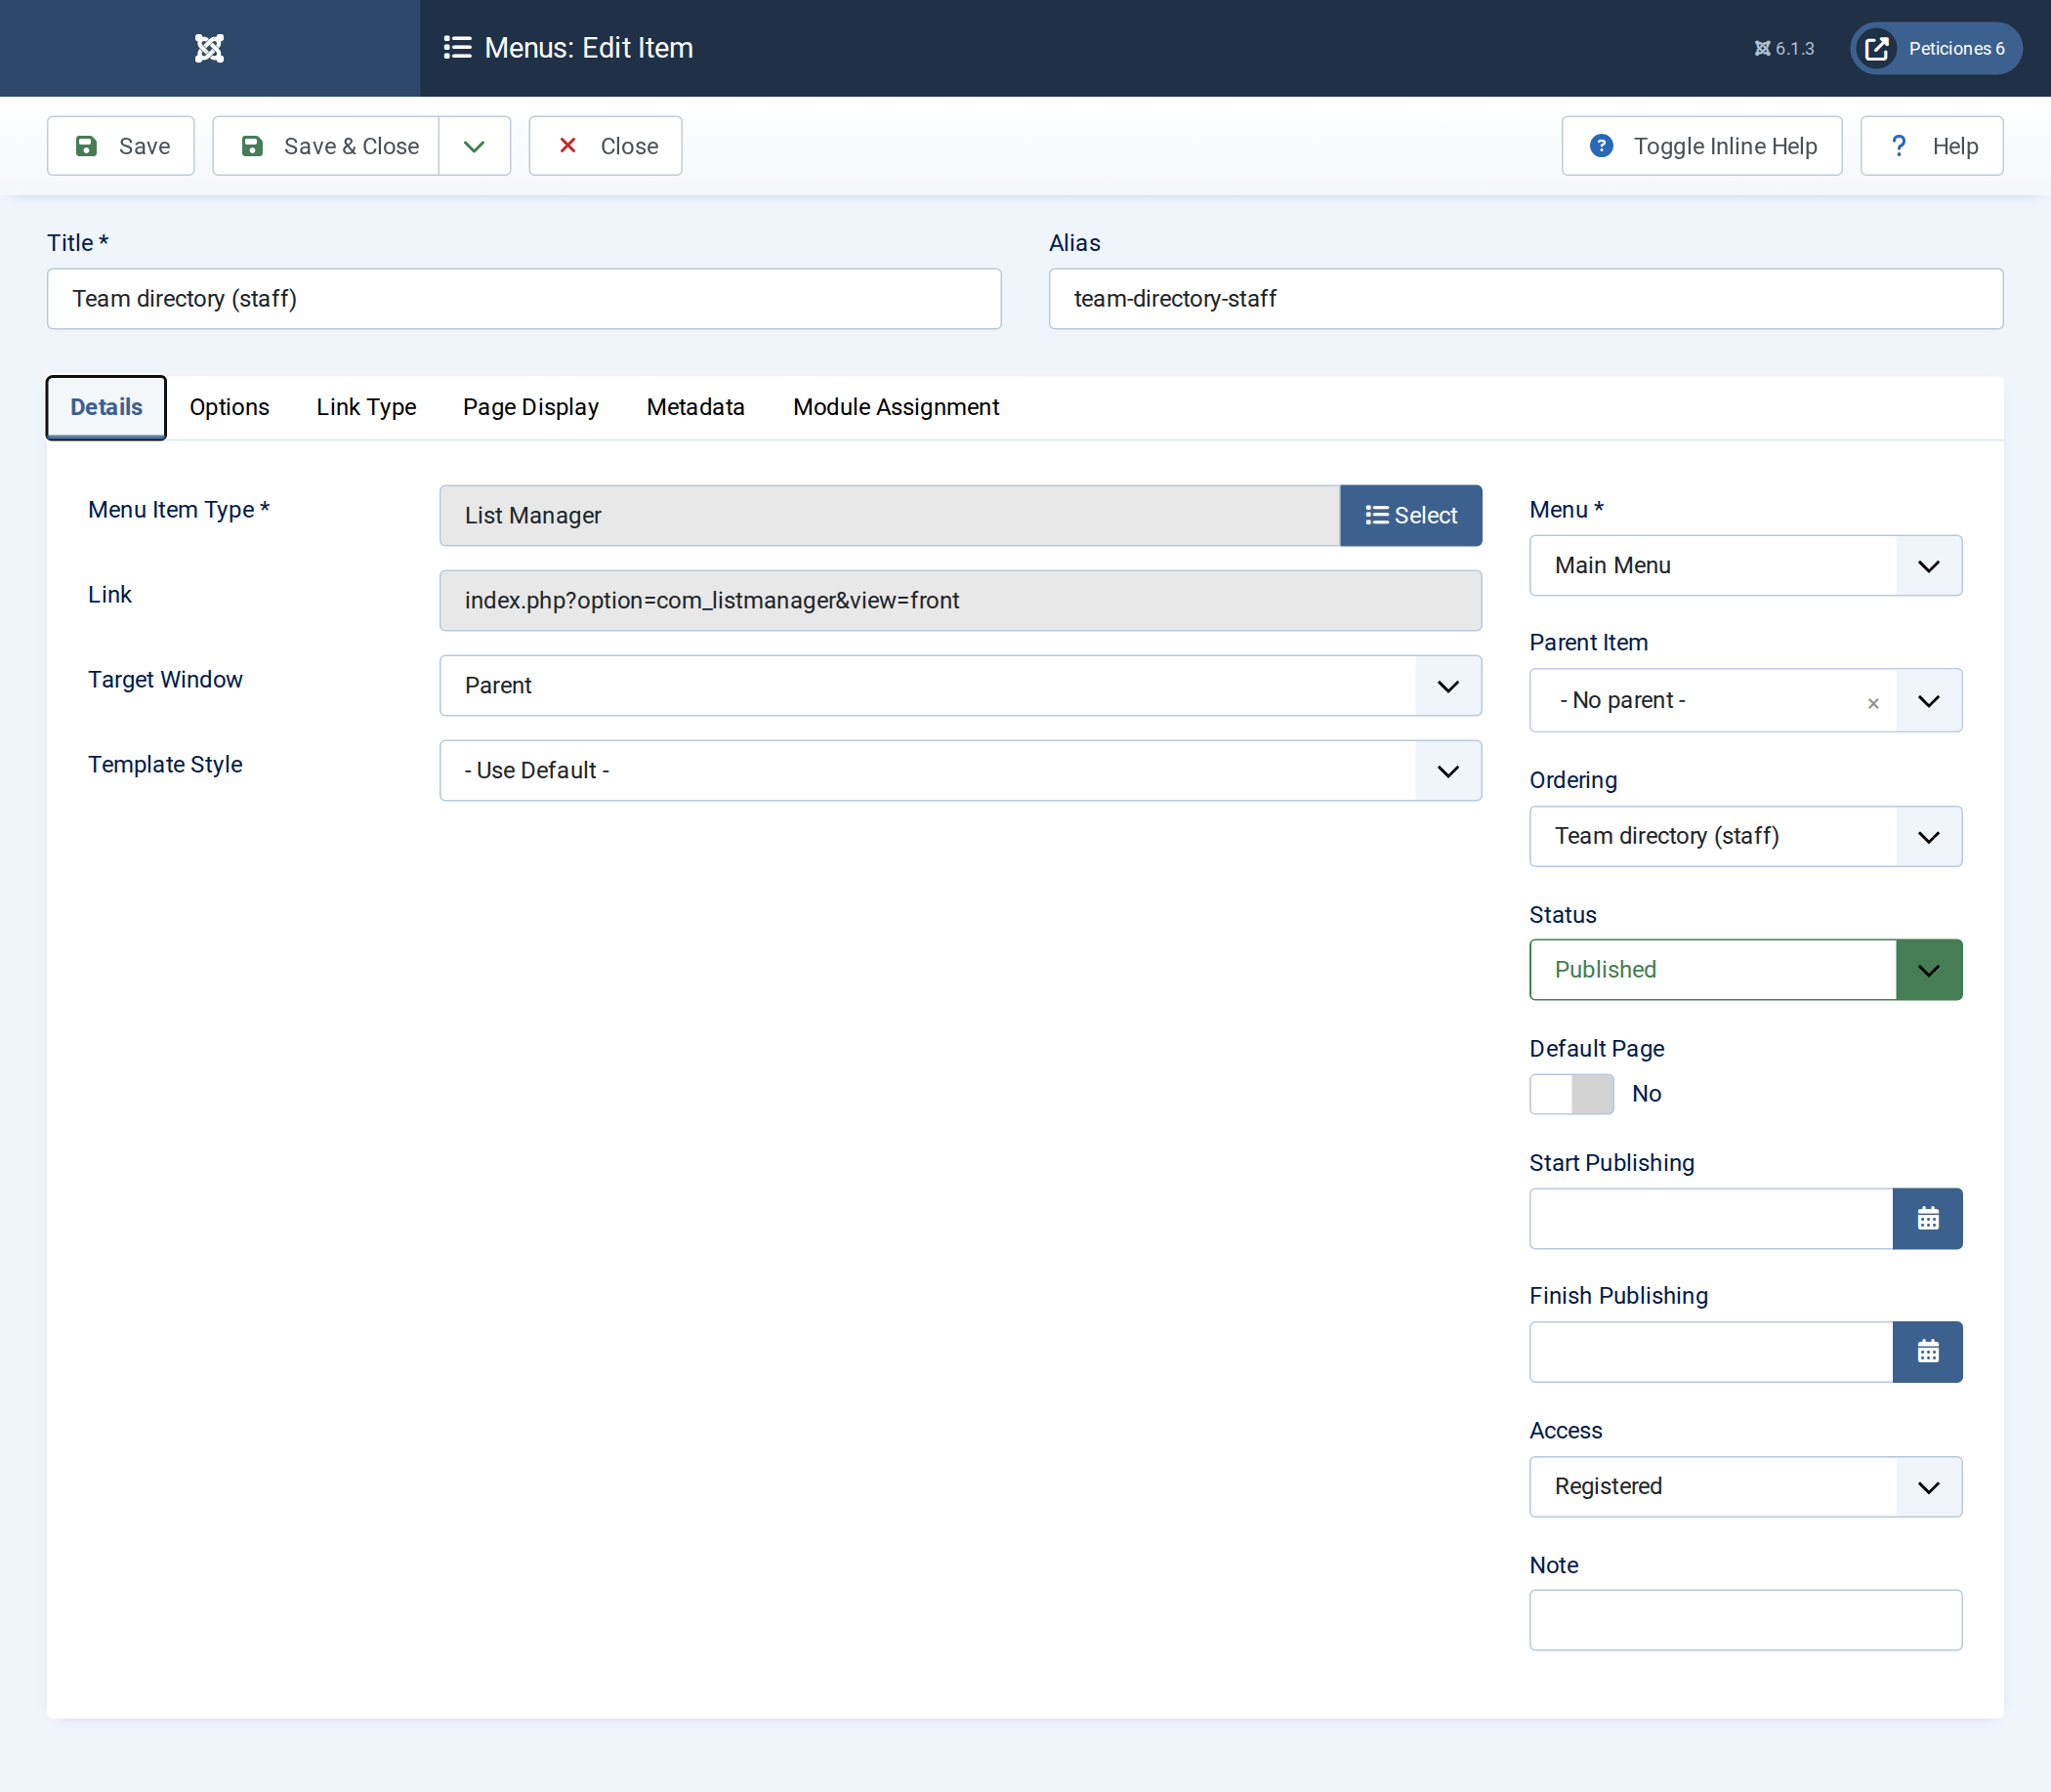
- Team roster → List A → Access: Public.
- Team directory (staff) → List B → Access: Registered (or Special, or a view level you create under Users → Access Levels for a “Staff” group).
Joomla enforces this automatically: a visitor who is not in the required group gets a login prompt if they reach the URL, and the menu link is hidden from them entirely.
Result
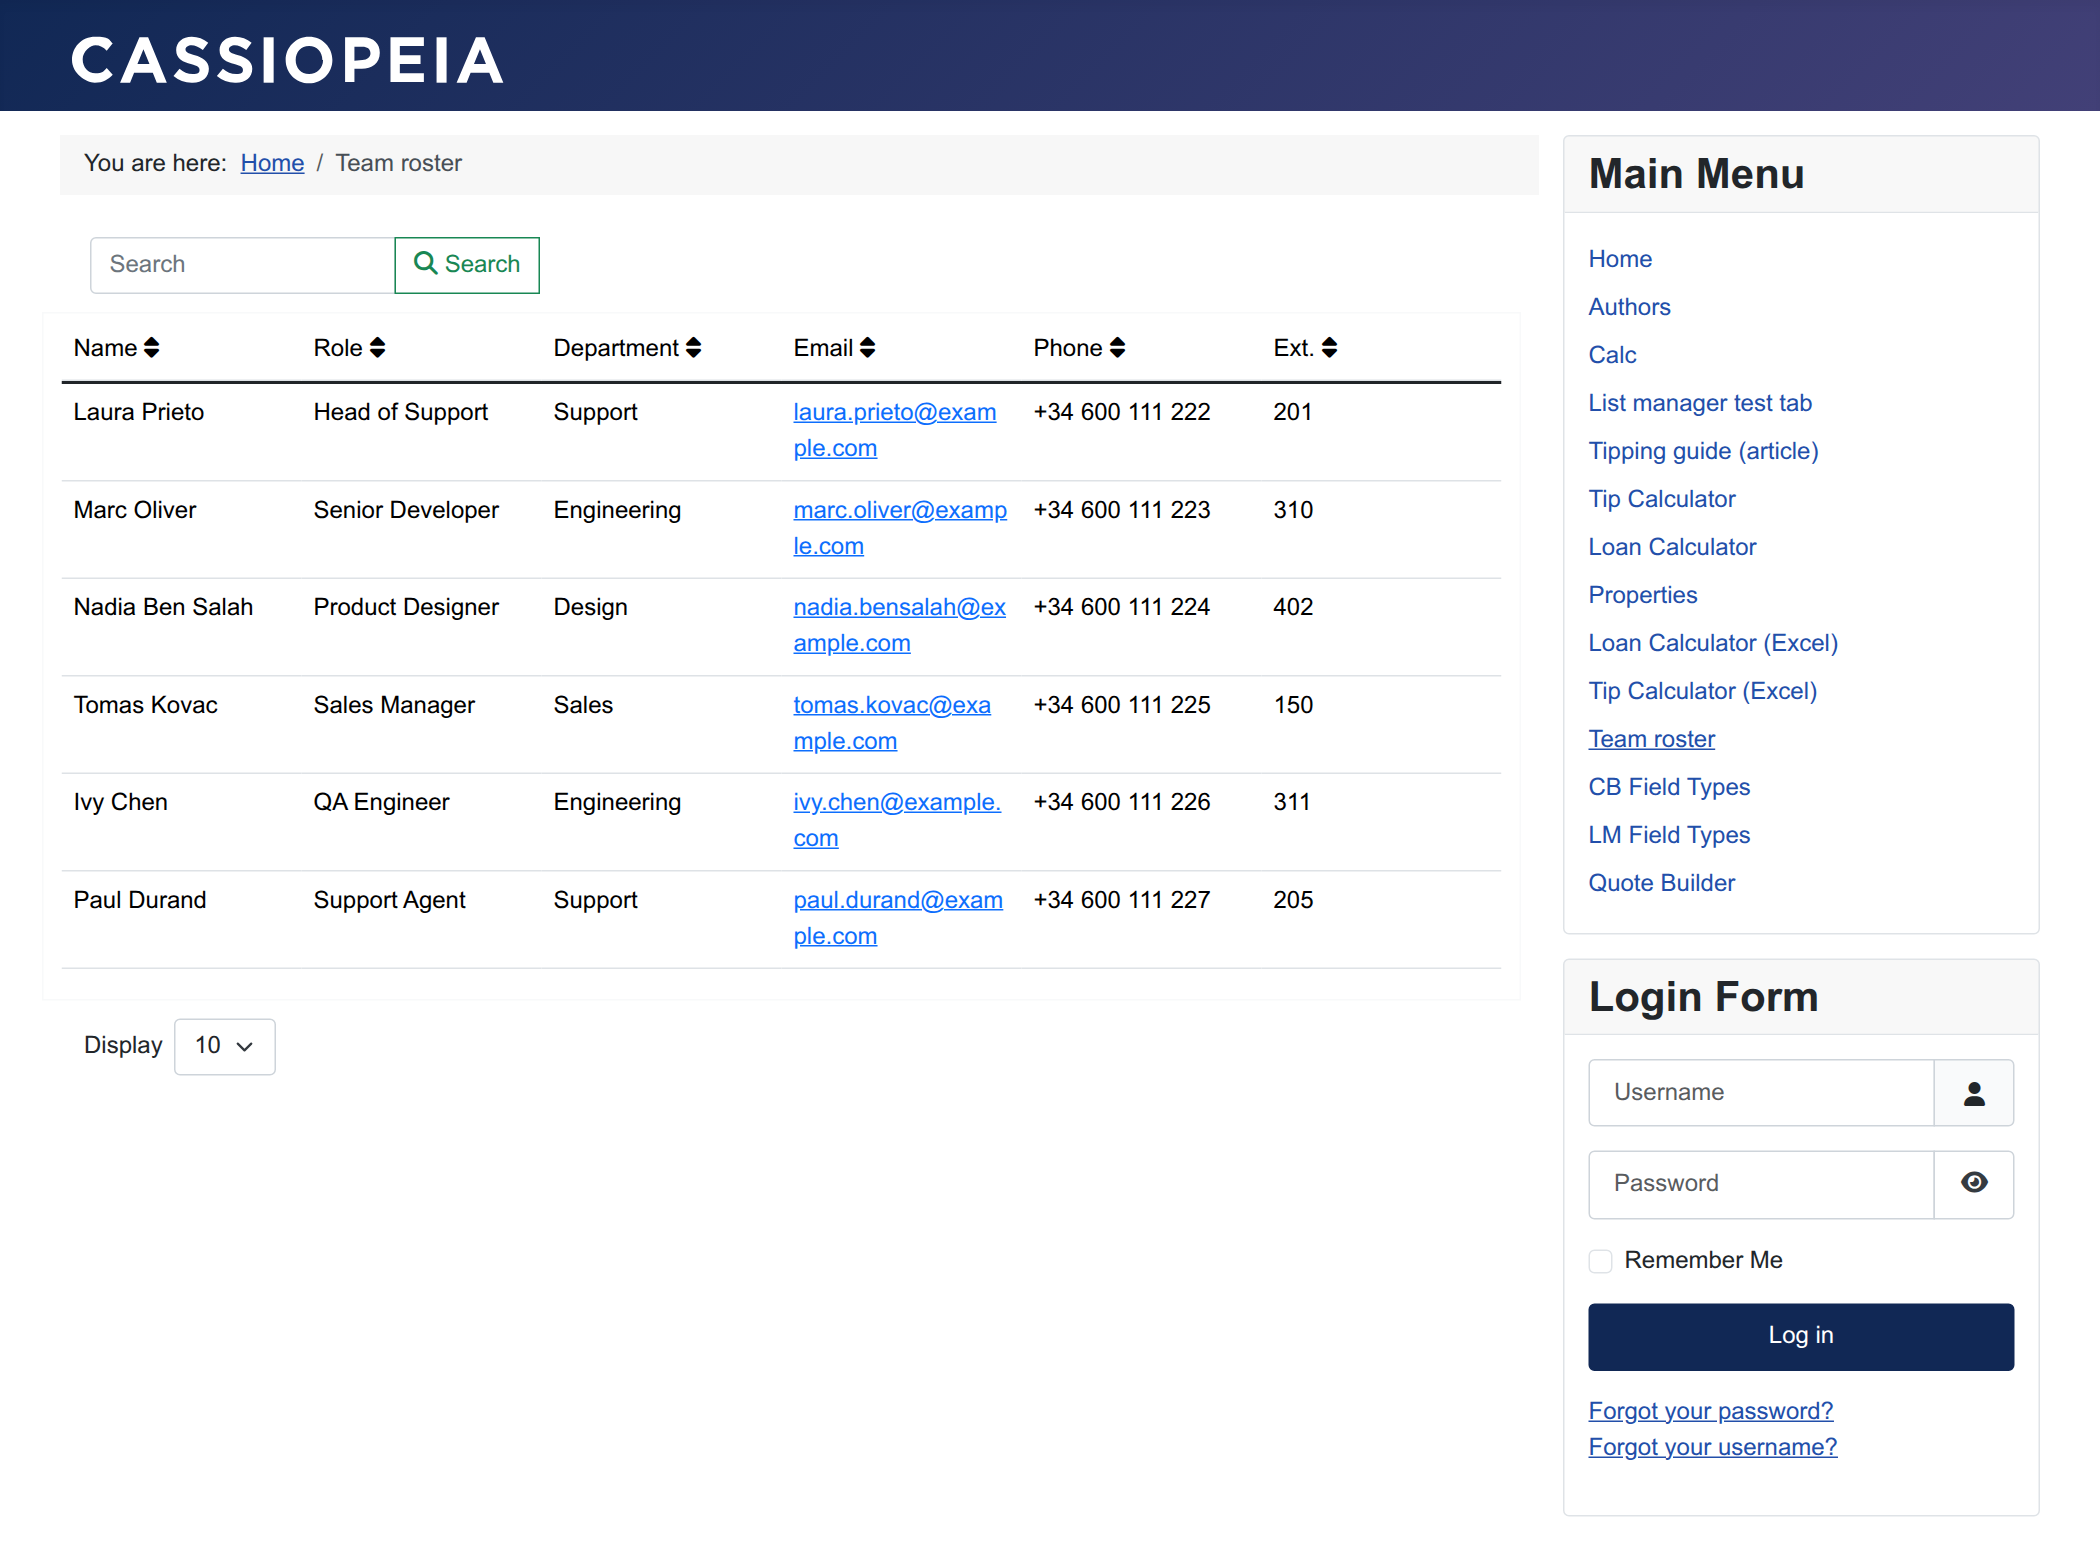
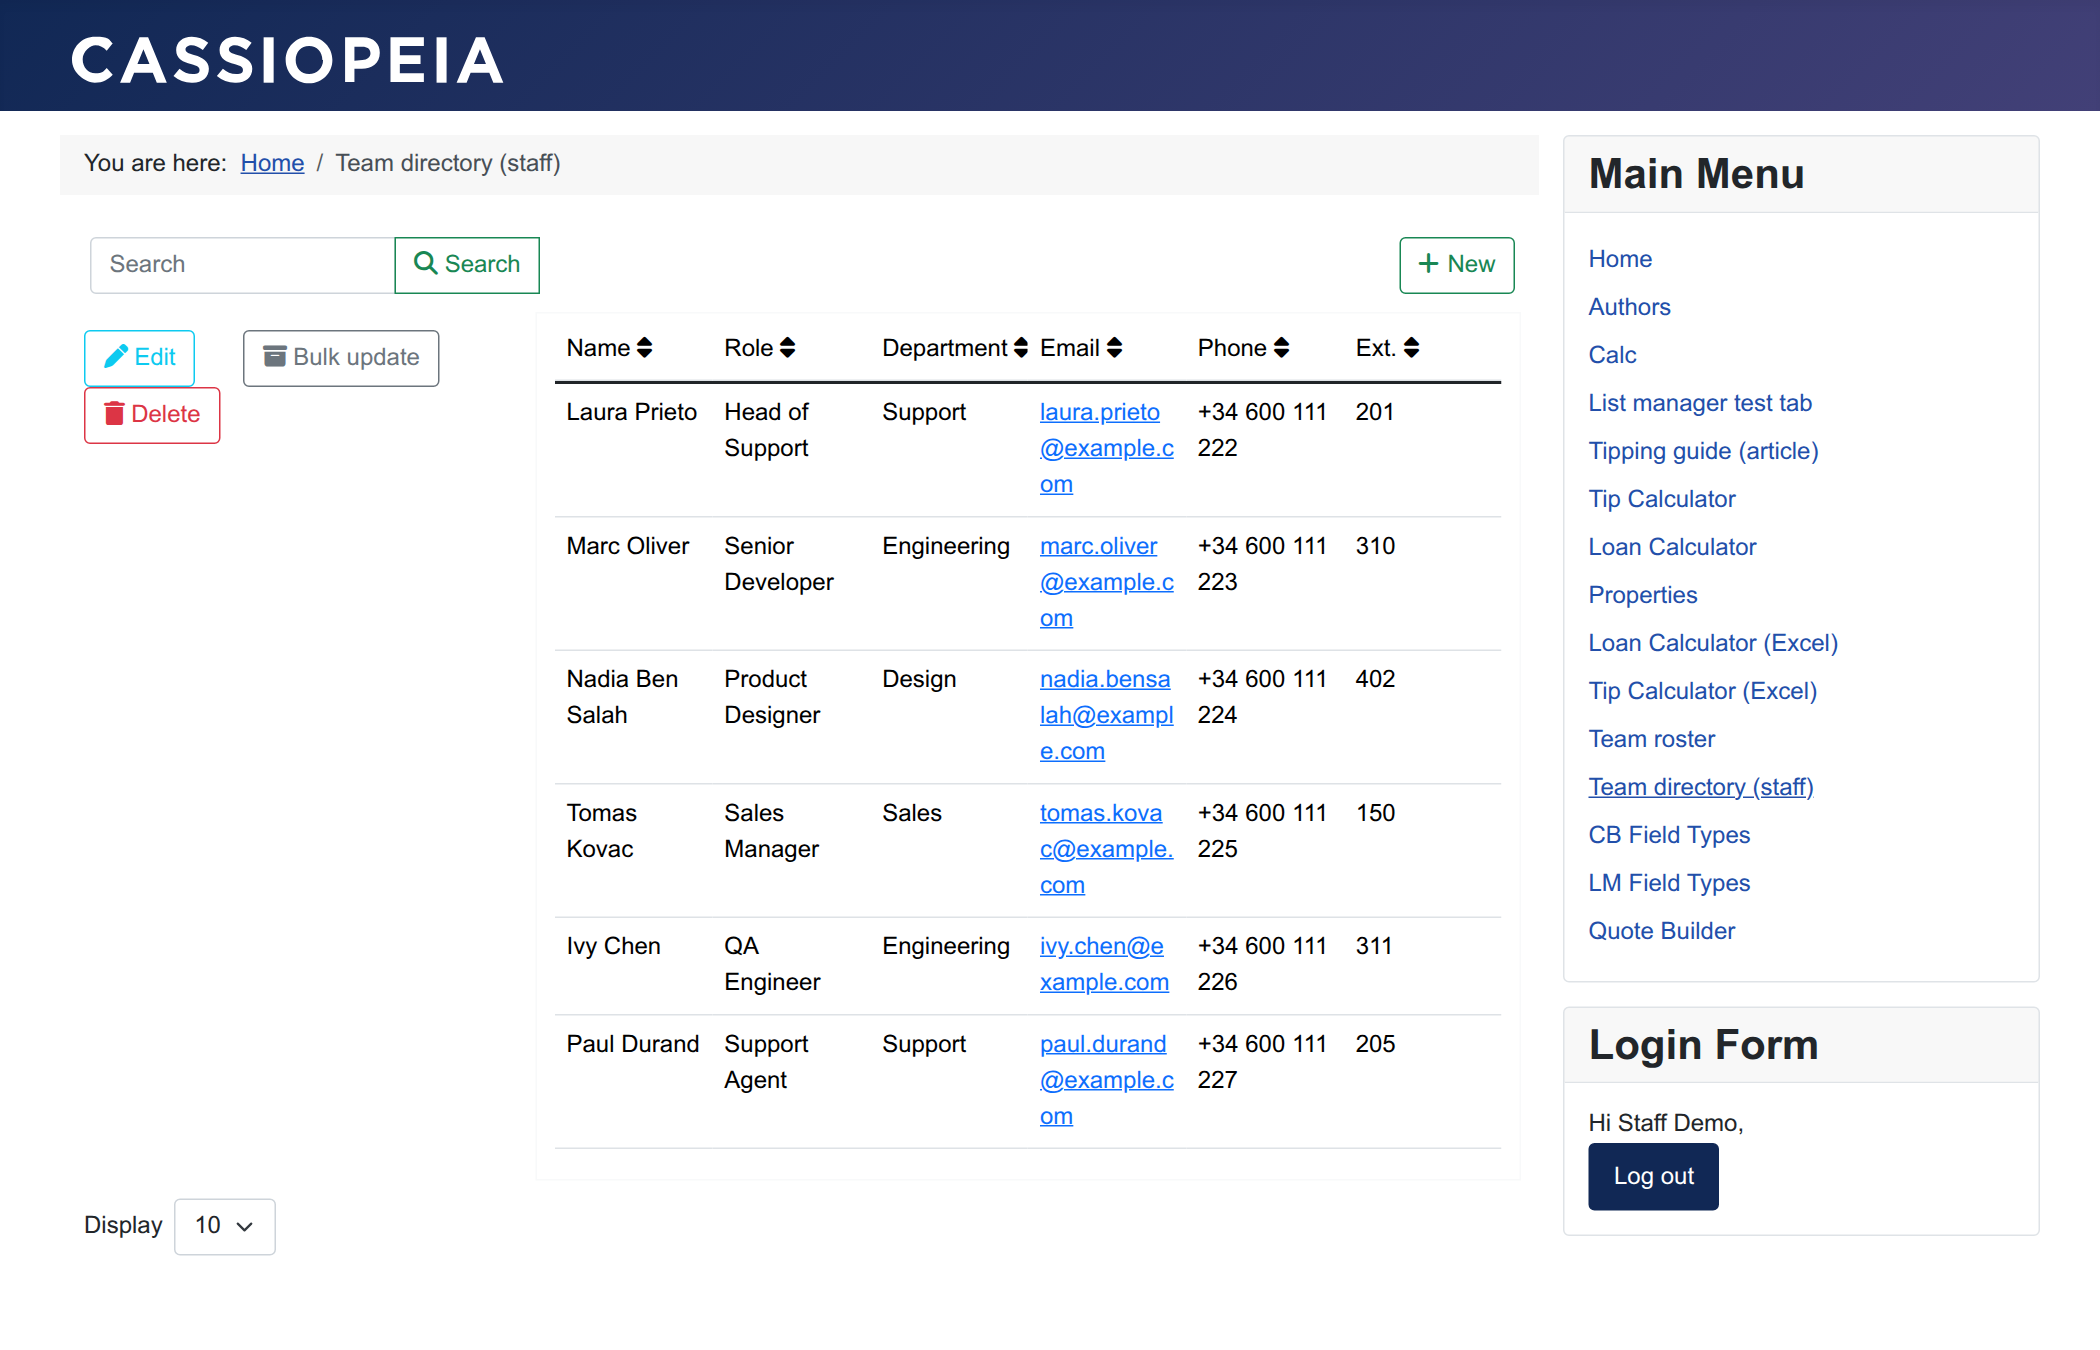
The public sees a clean directory. Staff, once logged in, get the New / Edit / Bulk Update / Delete buttons on top of the identical list — and any change they make appears in the public view straight away, because it is one table underneath.
Tighten it further
- Add a Fixed custom filter on List A (general Display settings), e.g.
published = 1, so the public view never shows draft rows. - On List B’s Advanced screen turn on Save history to log who changed what.
- The component’s own Options → Permissions control the back-end; the per-menu Access levels shown here control the front end.