
CalcBuilder Tutorial
Calc Builder 6: generating calculators with the AI assistant
Instead of building a calculator field by field, you can describe it in plain words and let the AI assistant generate it for you. The finished calculator appears in your list as a normal Calc Builder calculator that you can open, edit and publish like any other.
▶ A 2-minute video walkthrough (English audio & subtitles). The written steps below cover the same ground.
Before you start
- The assistant is an online service run by Moonsoft. Your requirements and any attached files are sent to that service. They will be handled by the AI assistant, and we ensure we won’t publish, share or send that data: it will be used only for the configuration process. Even so, please do not include confidential data that you do not want to leave your server.
- It needs your license code (stored as the Download Key of the extension, see step 1) and a remaining generation credit. You need the Create permission on Calc Builder (and Edit to request changes).
1. Check your license code (Update Sites)
Your license code is available in your user area at https://www.moonsoft.es. You do not enter it in the component: Calc Builder reads it from the Download Key of its update site, the same key Joomla uses to download updates. Go to System → Update Sites and find Calc Builder: the key is shown next to the update URL (hidden in the screenshots of this tutorial).
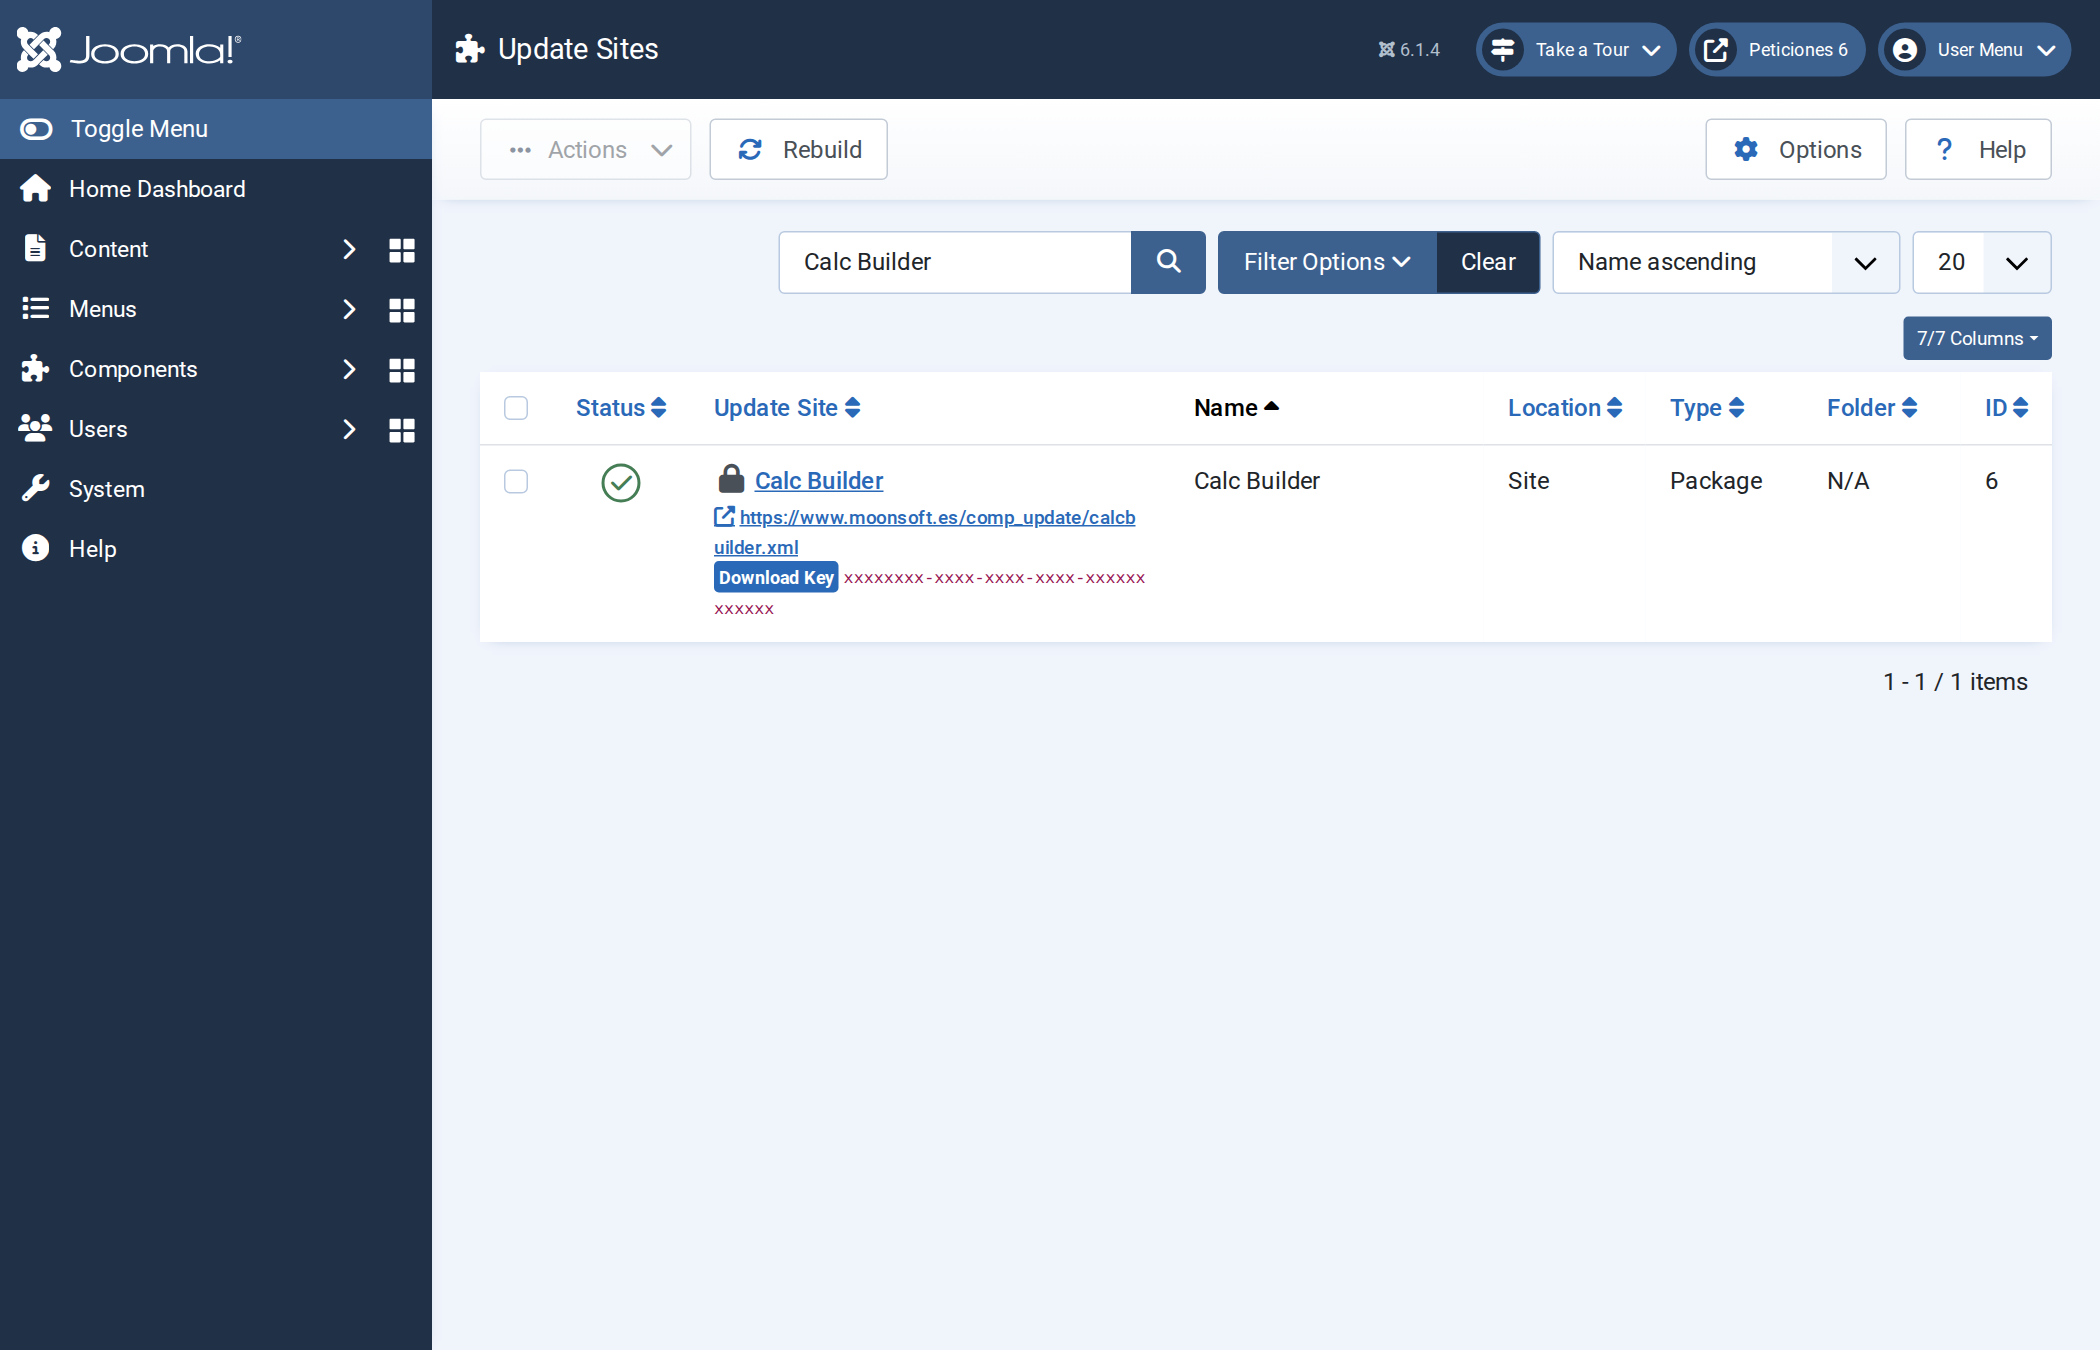
Click Calc Builder to open it and make sure the Download Key field contains your Moonsoft code. If it is empty, paste your code and click Save & Close; otherwise click Close.
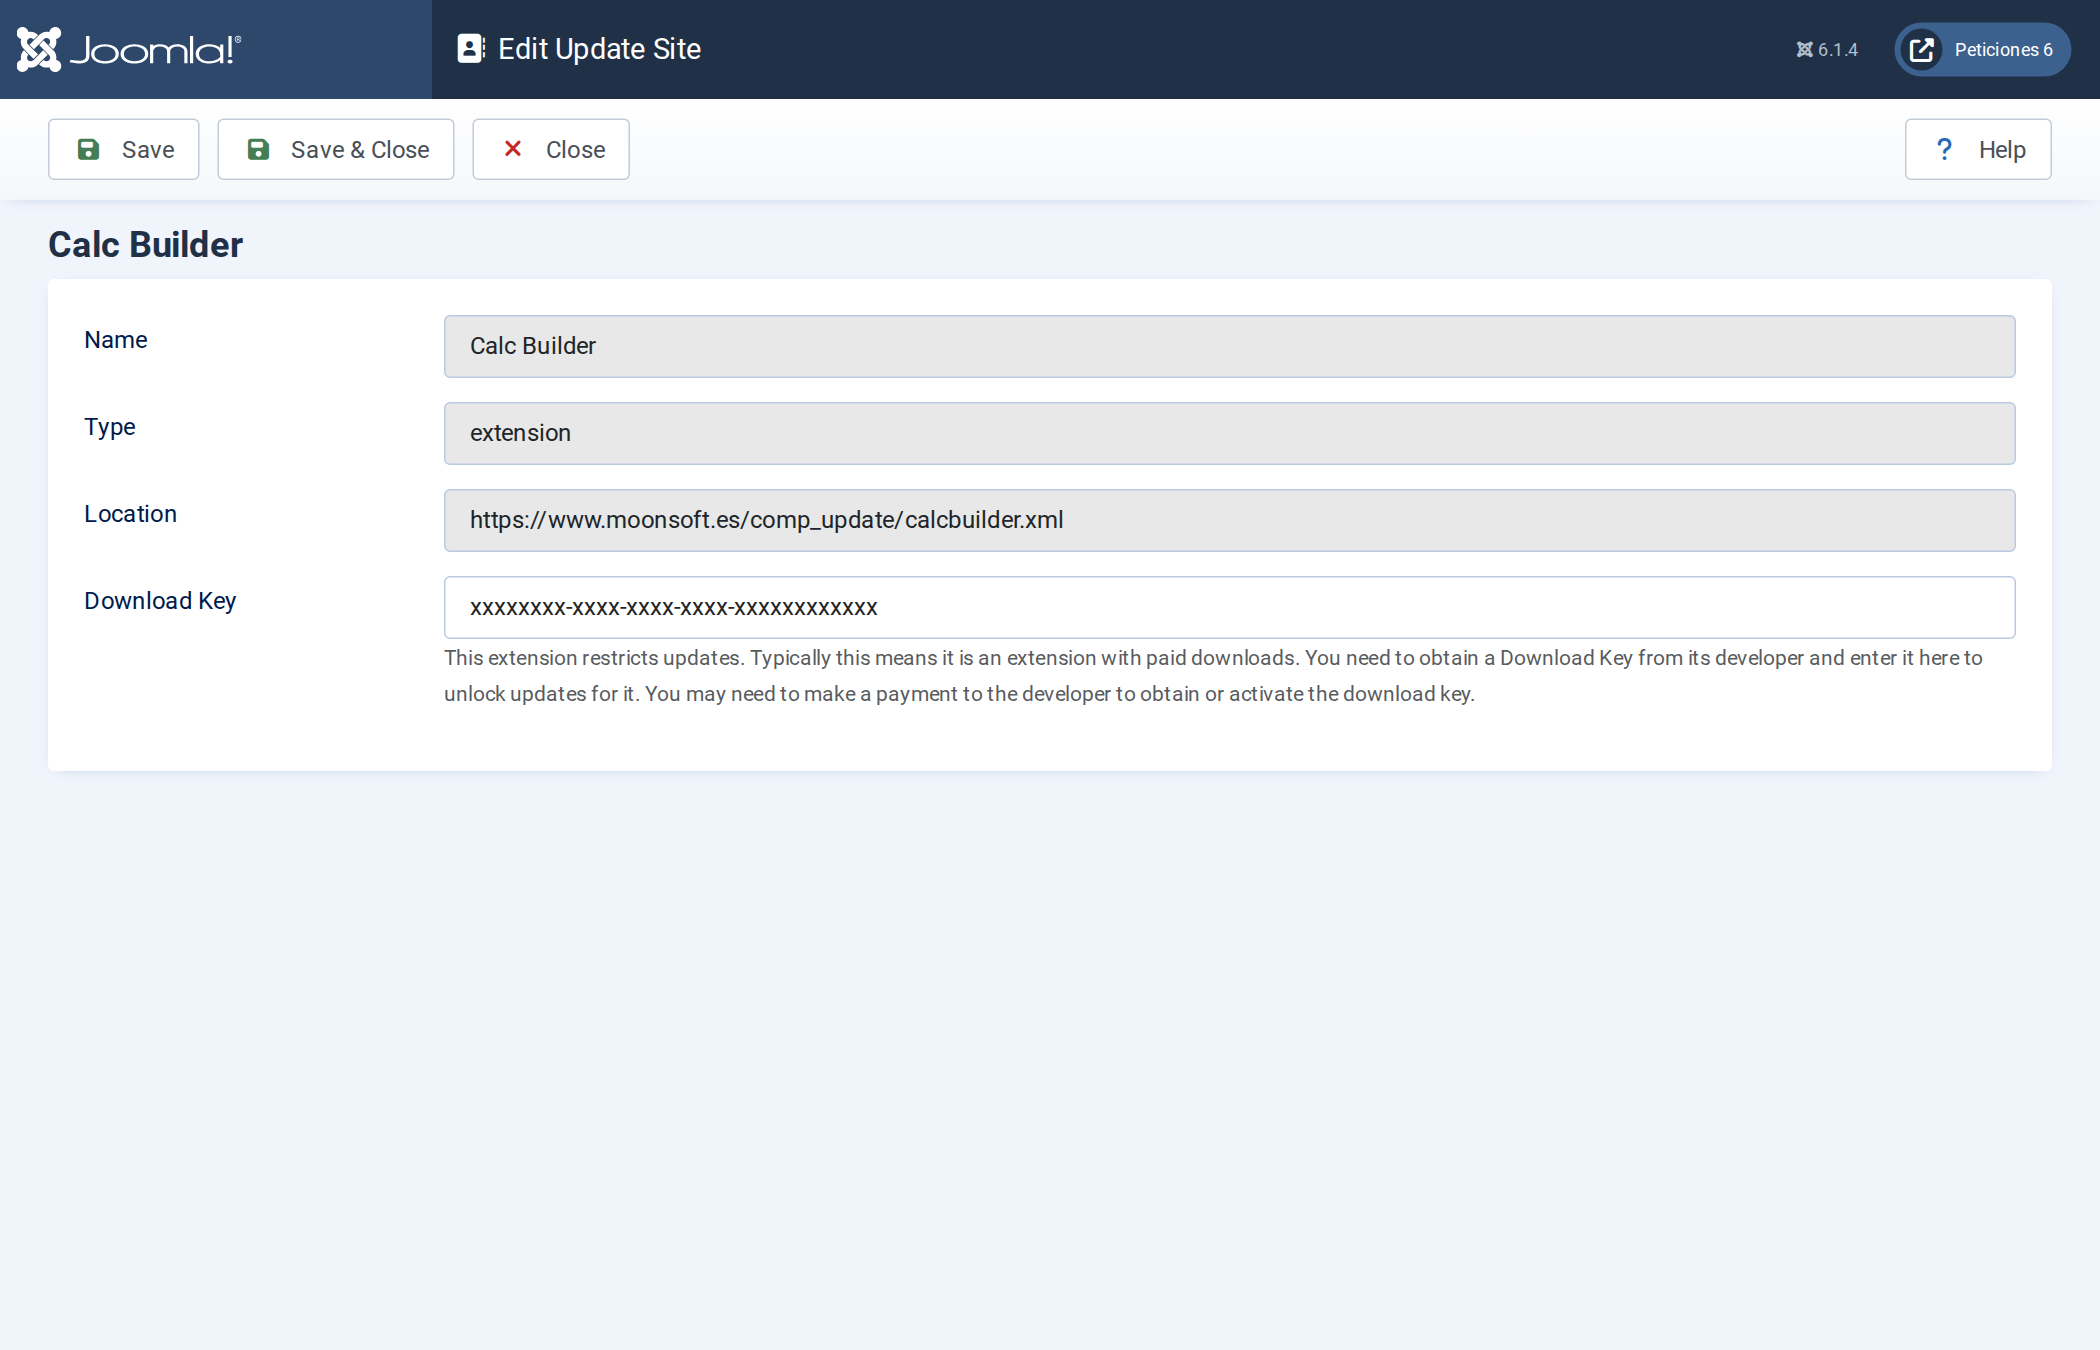
If the code is missing, Generate calculator shows the message No license code found. Advanced: the component Options → AI assistant tab has a License code field that, when filled, takes priority over the update site key; you normally leave it empty.
2. Start a generation
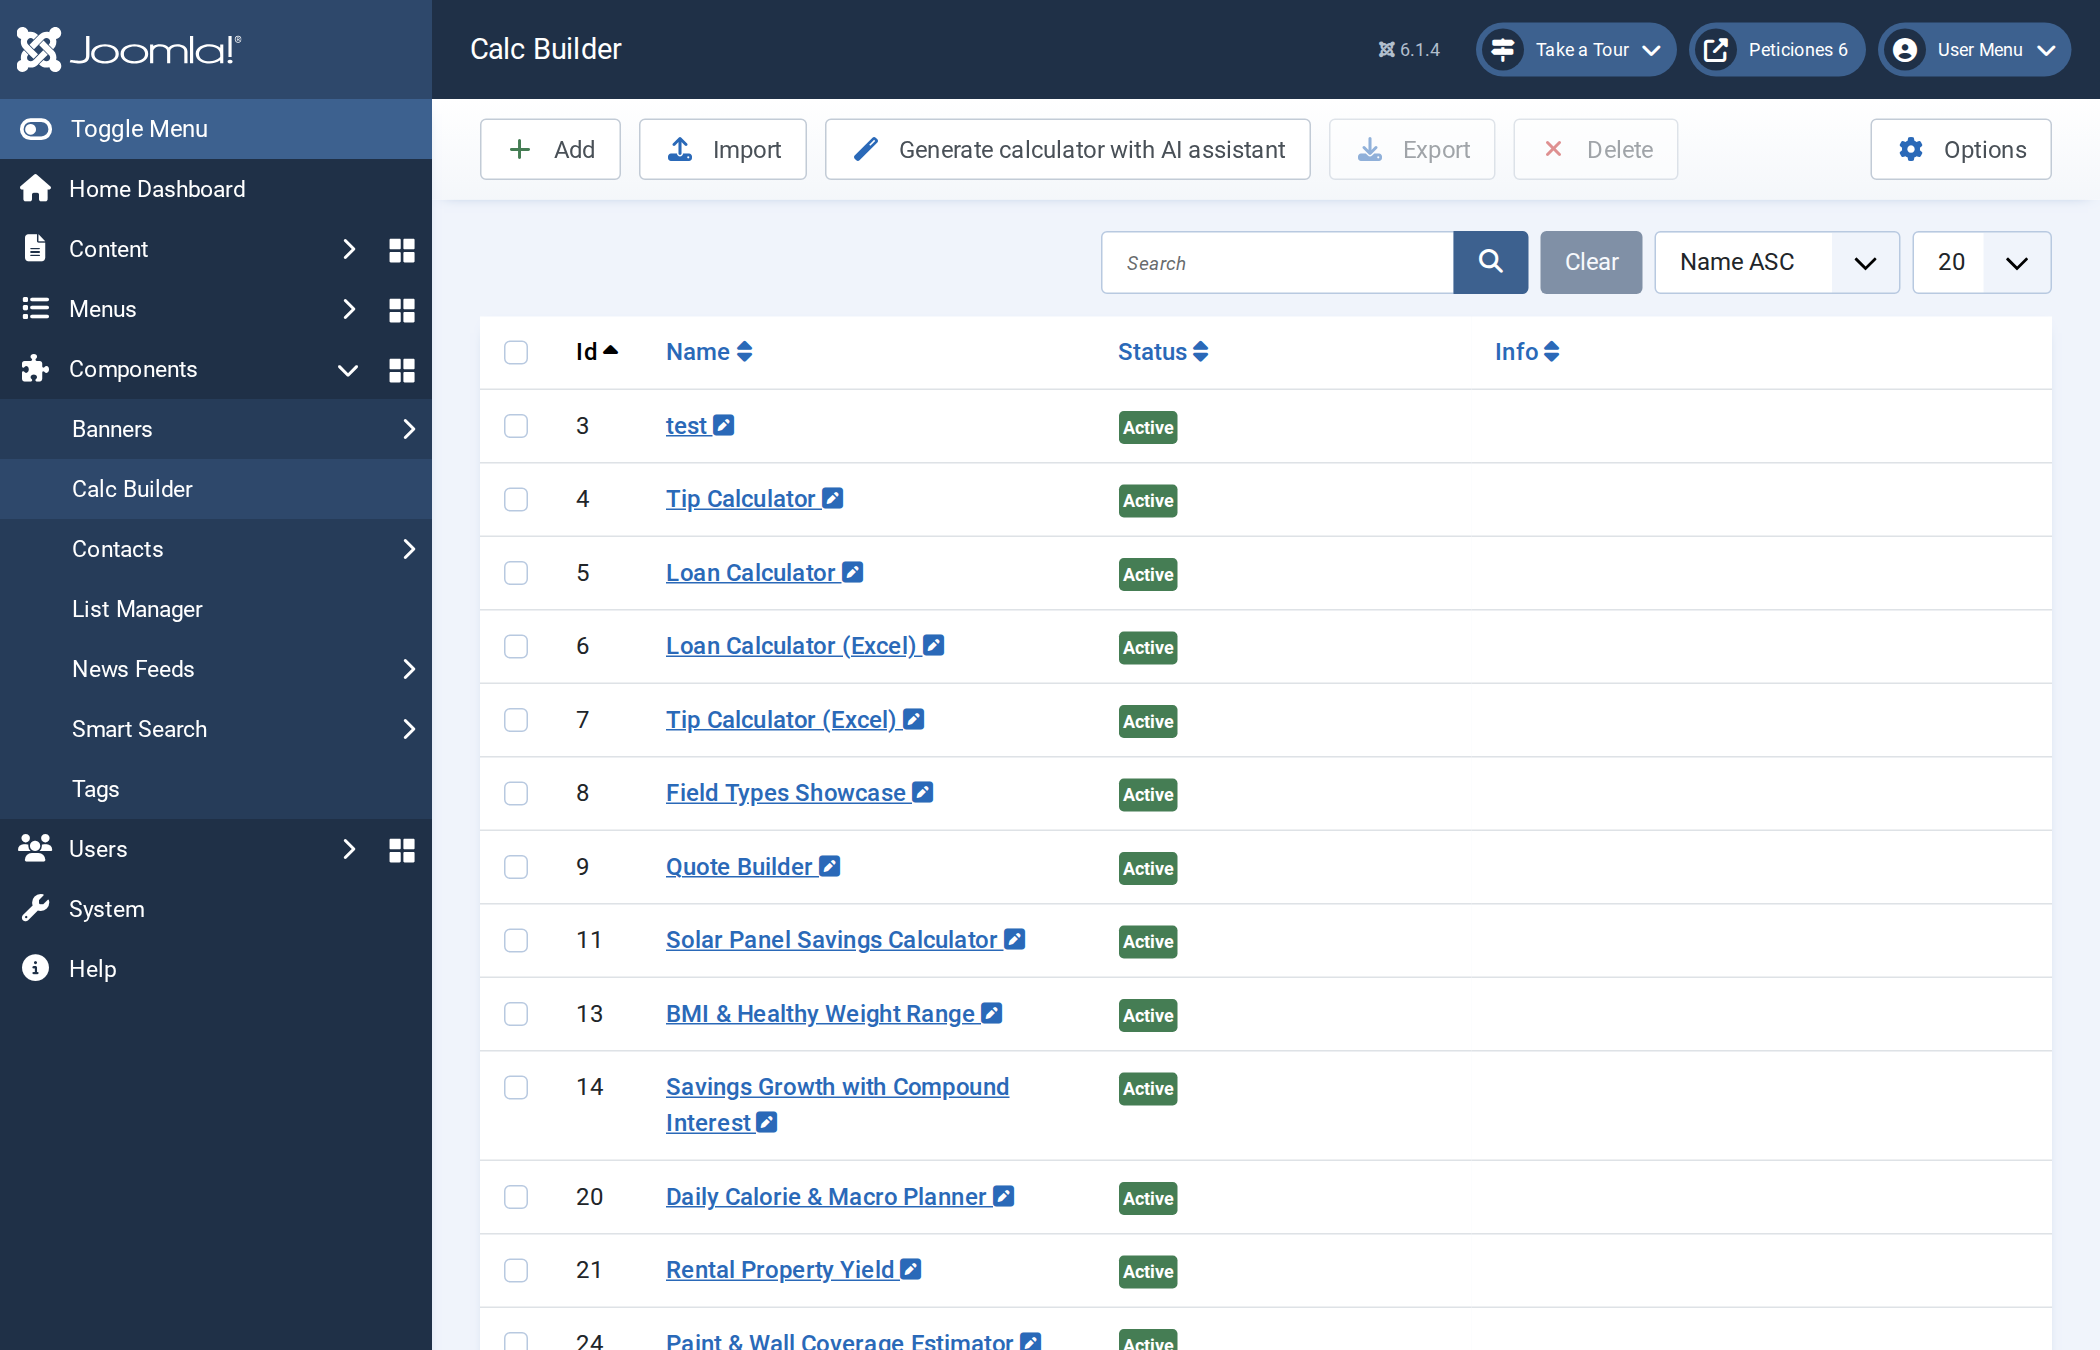
In Components → Calc Builder click Generate calculator with AI assistant. Calc Builder checks your license and remaining credits first; if none are left it shows a message with a link to get more.
3. Describe the calculator
Fill in the Calculator name and the Requirements. The checklist on the right lists what a good request covers:
- purpose and audience;
- input fields: name, type, default value, options for lists;
- validations (required, minimum/maximum, messages) and dependencies between fields (show/hide);
- formulas, as PHP code or a spreadsheet you attach (say which cells are inputs and outputs);
- results: which values, which format, how they are displayed;
- appearance, PDF export, email of the result, captcha, and examples of expected results so the maths can be verified.
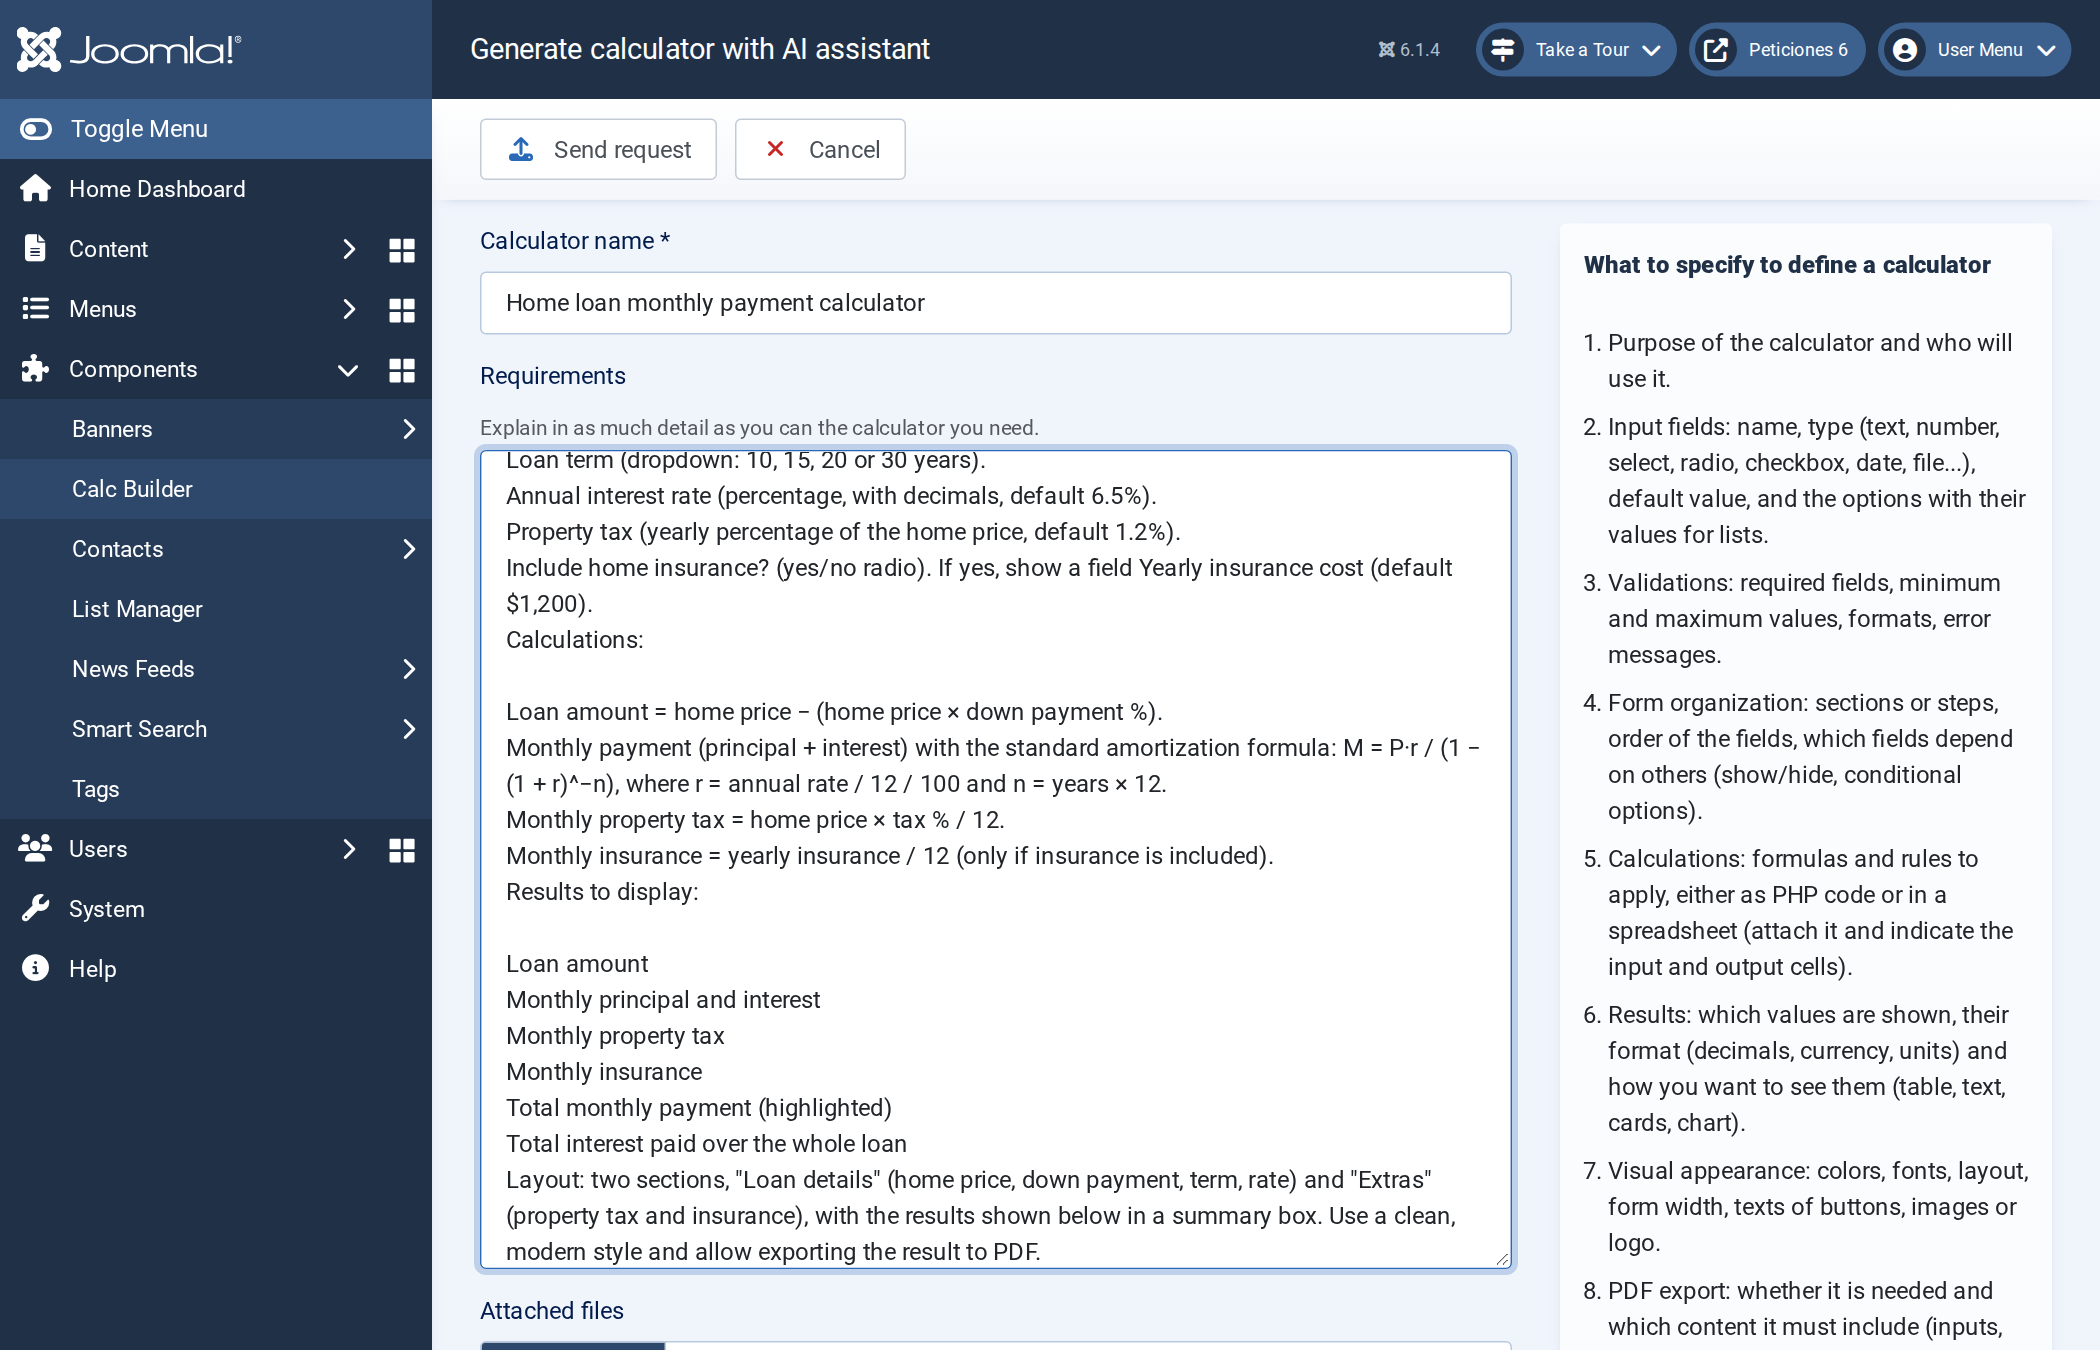
Optionally attach images, documents (pdf, doc, docx, txt, rtf, odt, md) or spreadsheets (xls, xlsx, xlsm, ods, csv): up to 20 files of 20 MB each. Then click Send request.
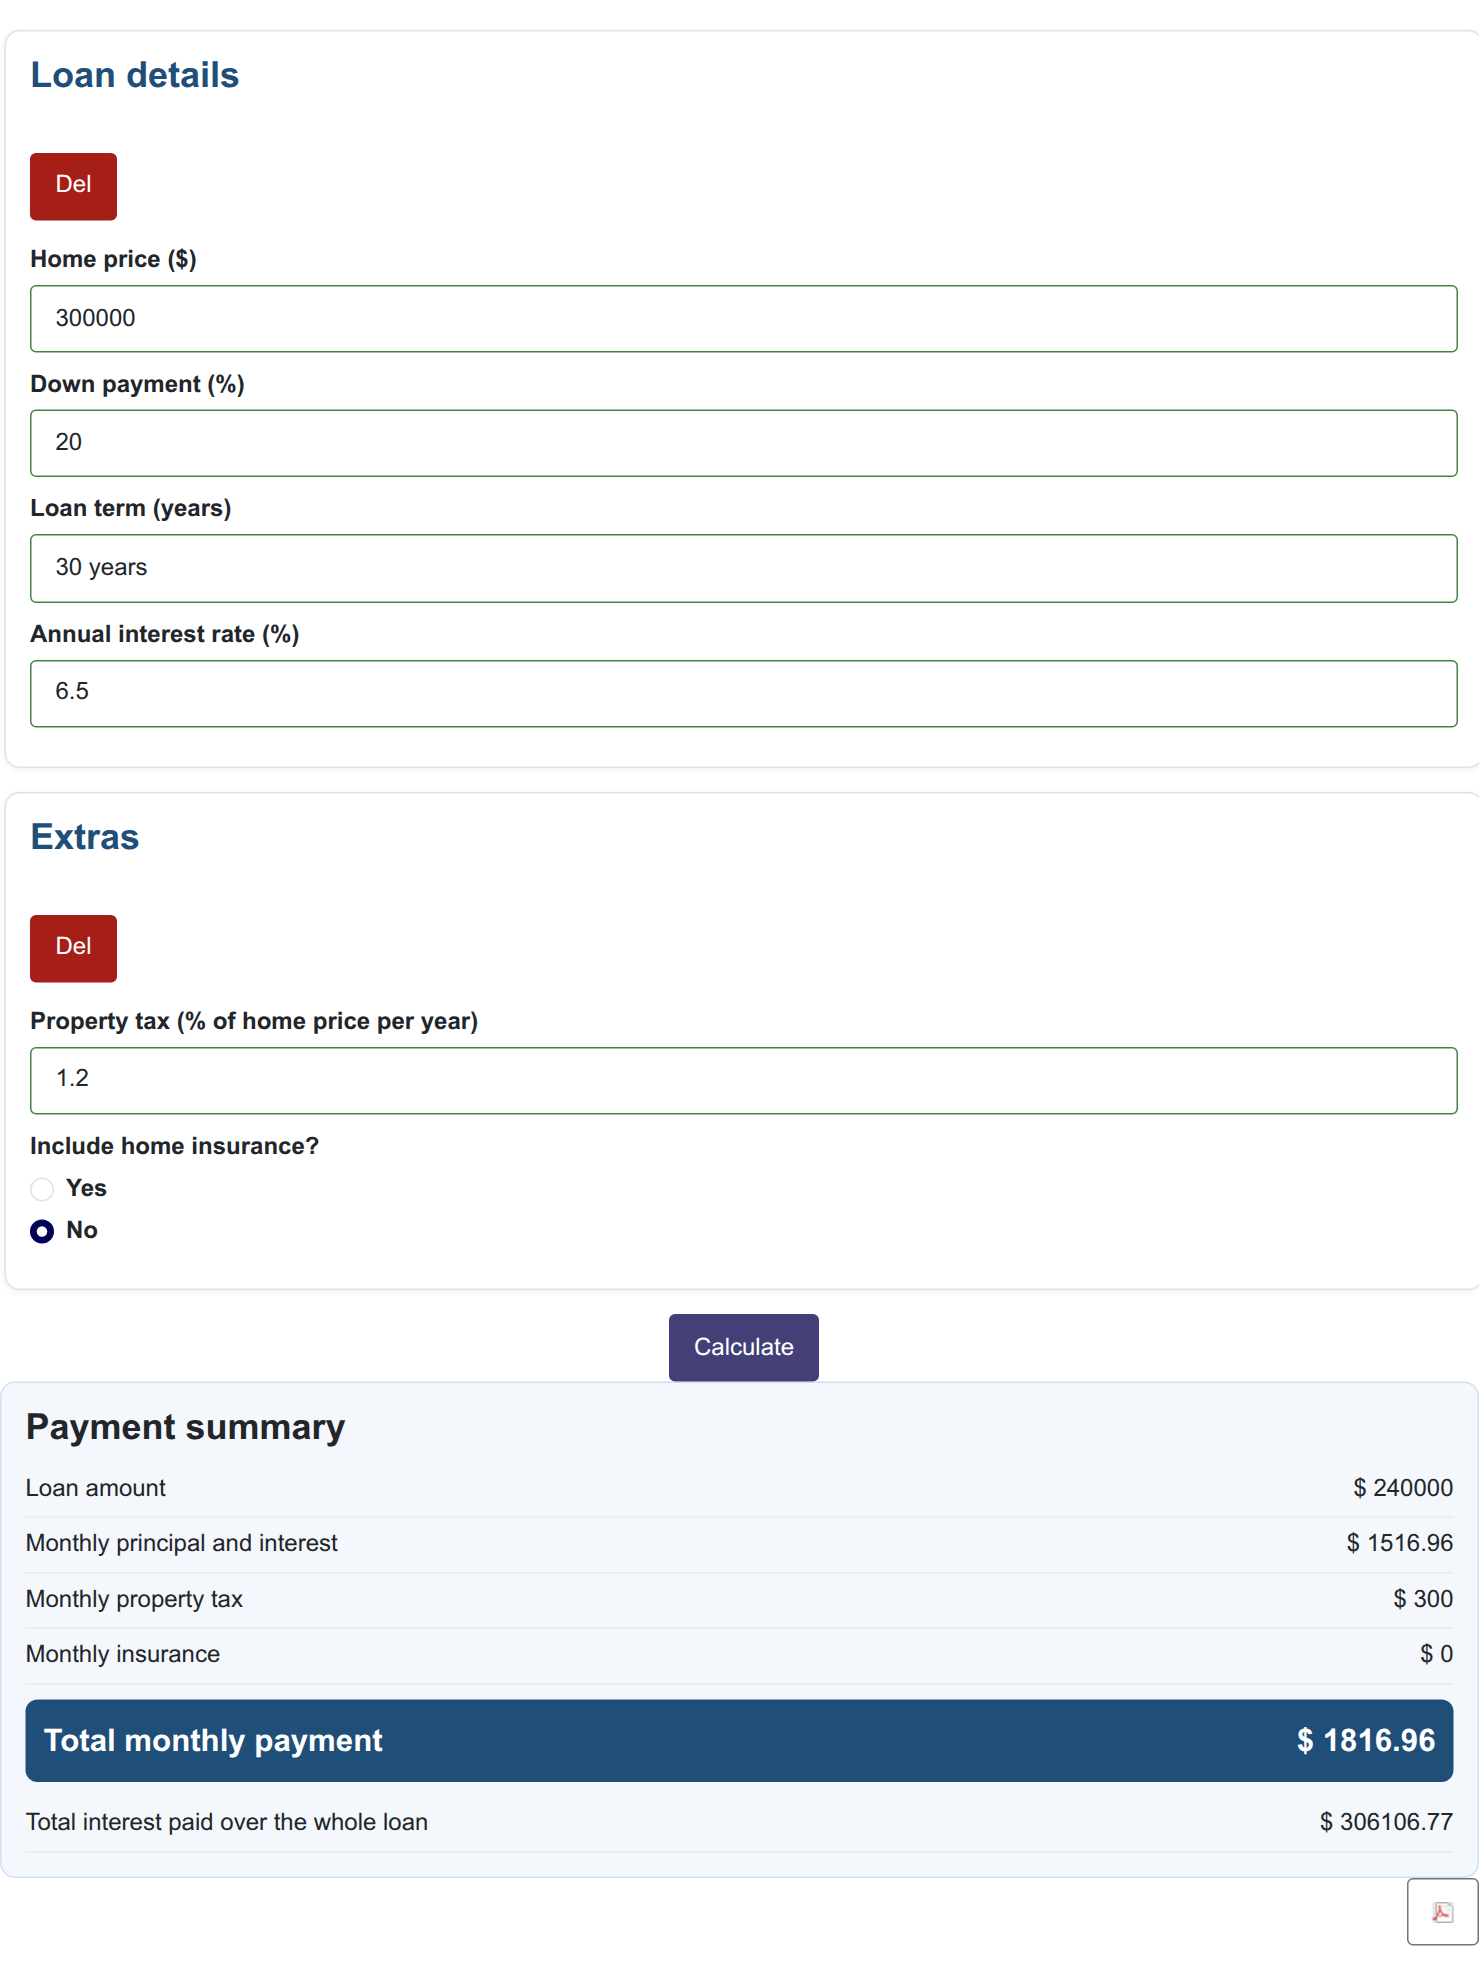
Example request used here: a home-loan calculator with six inputs (price, down payment %, term, rate, property tax, optional insurance), the amortization formula, six results, two sections and PDF export.
4. Wait for it to appear
The calculator is created straight away with a pending status. It will be generated and available within a few working hours. When it is ready, the next time you open the list it is imported, marked Active and a message confirms it. The Info column shows a short description of the calculator.
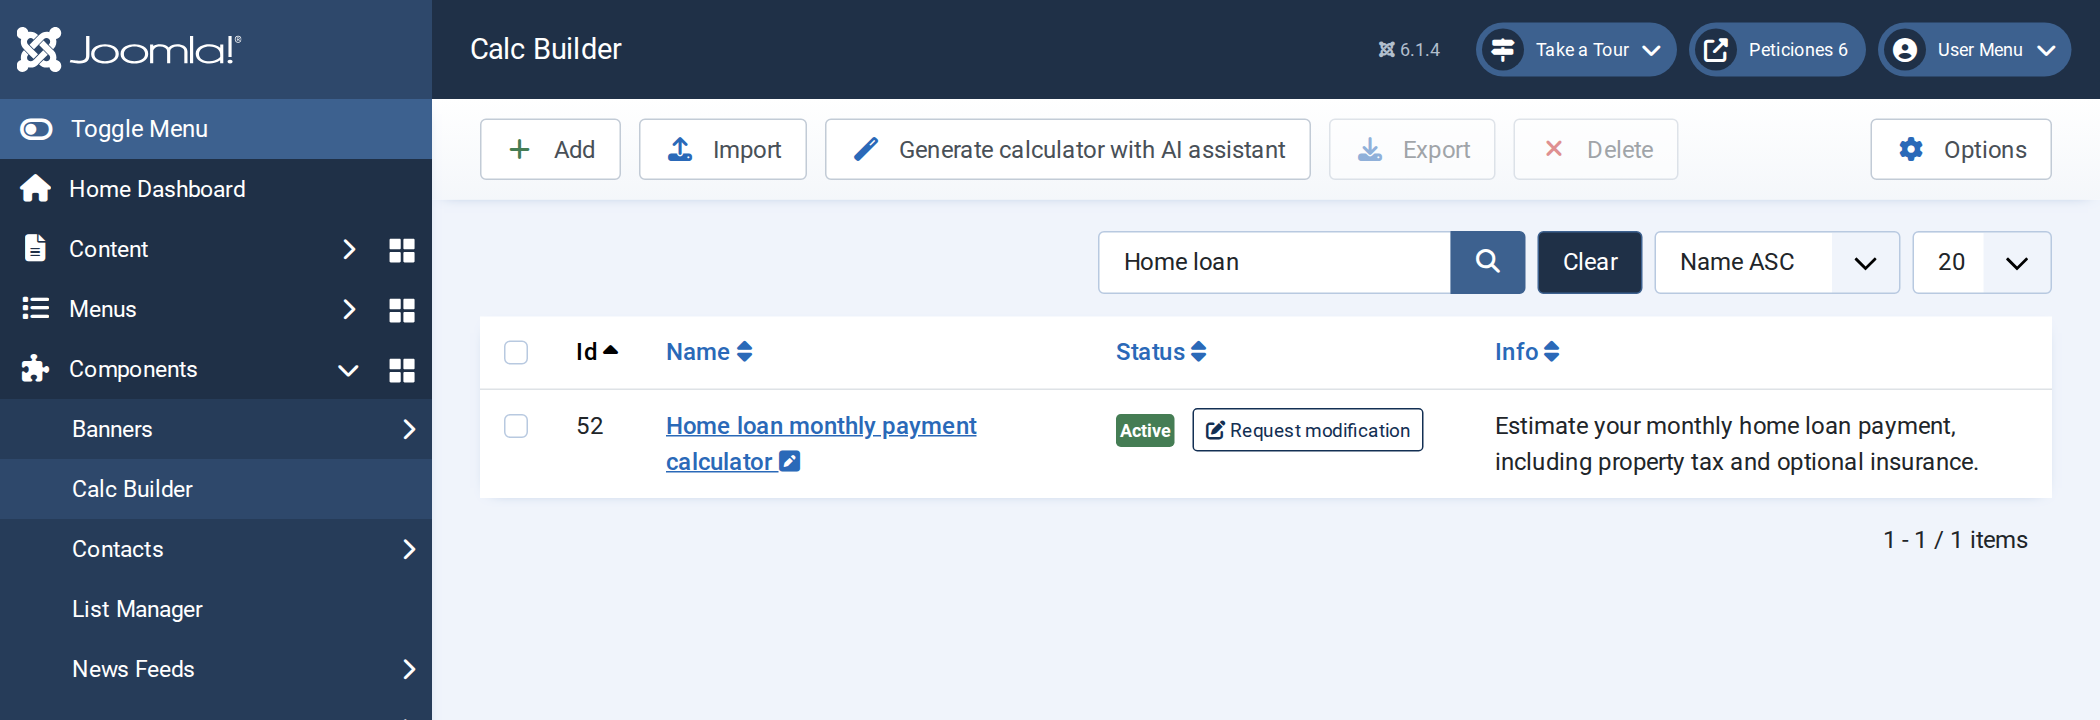
5. Review and test
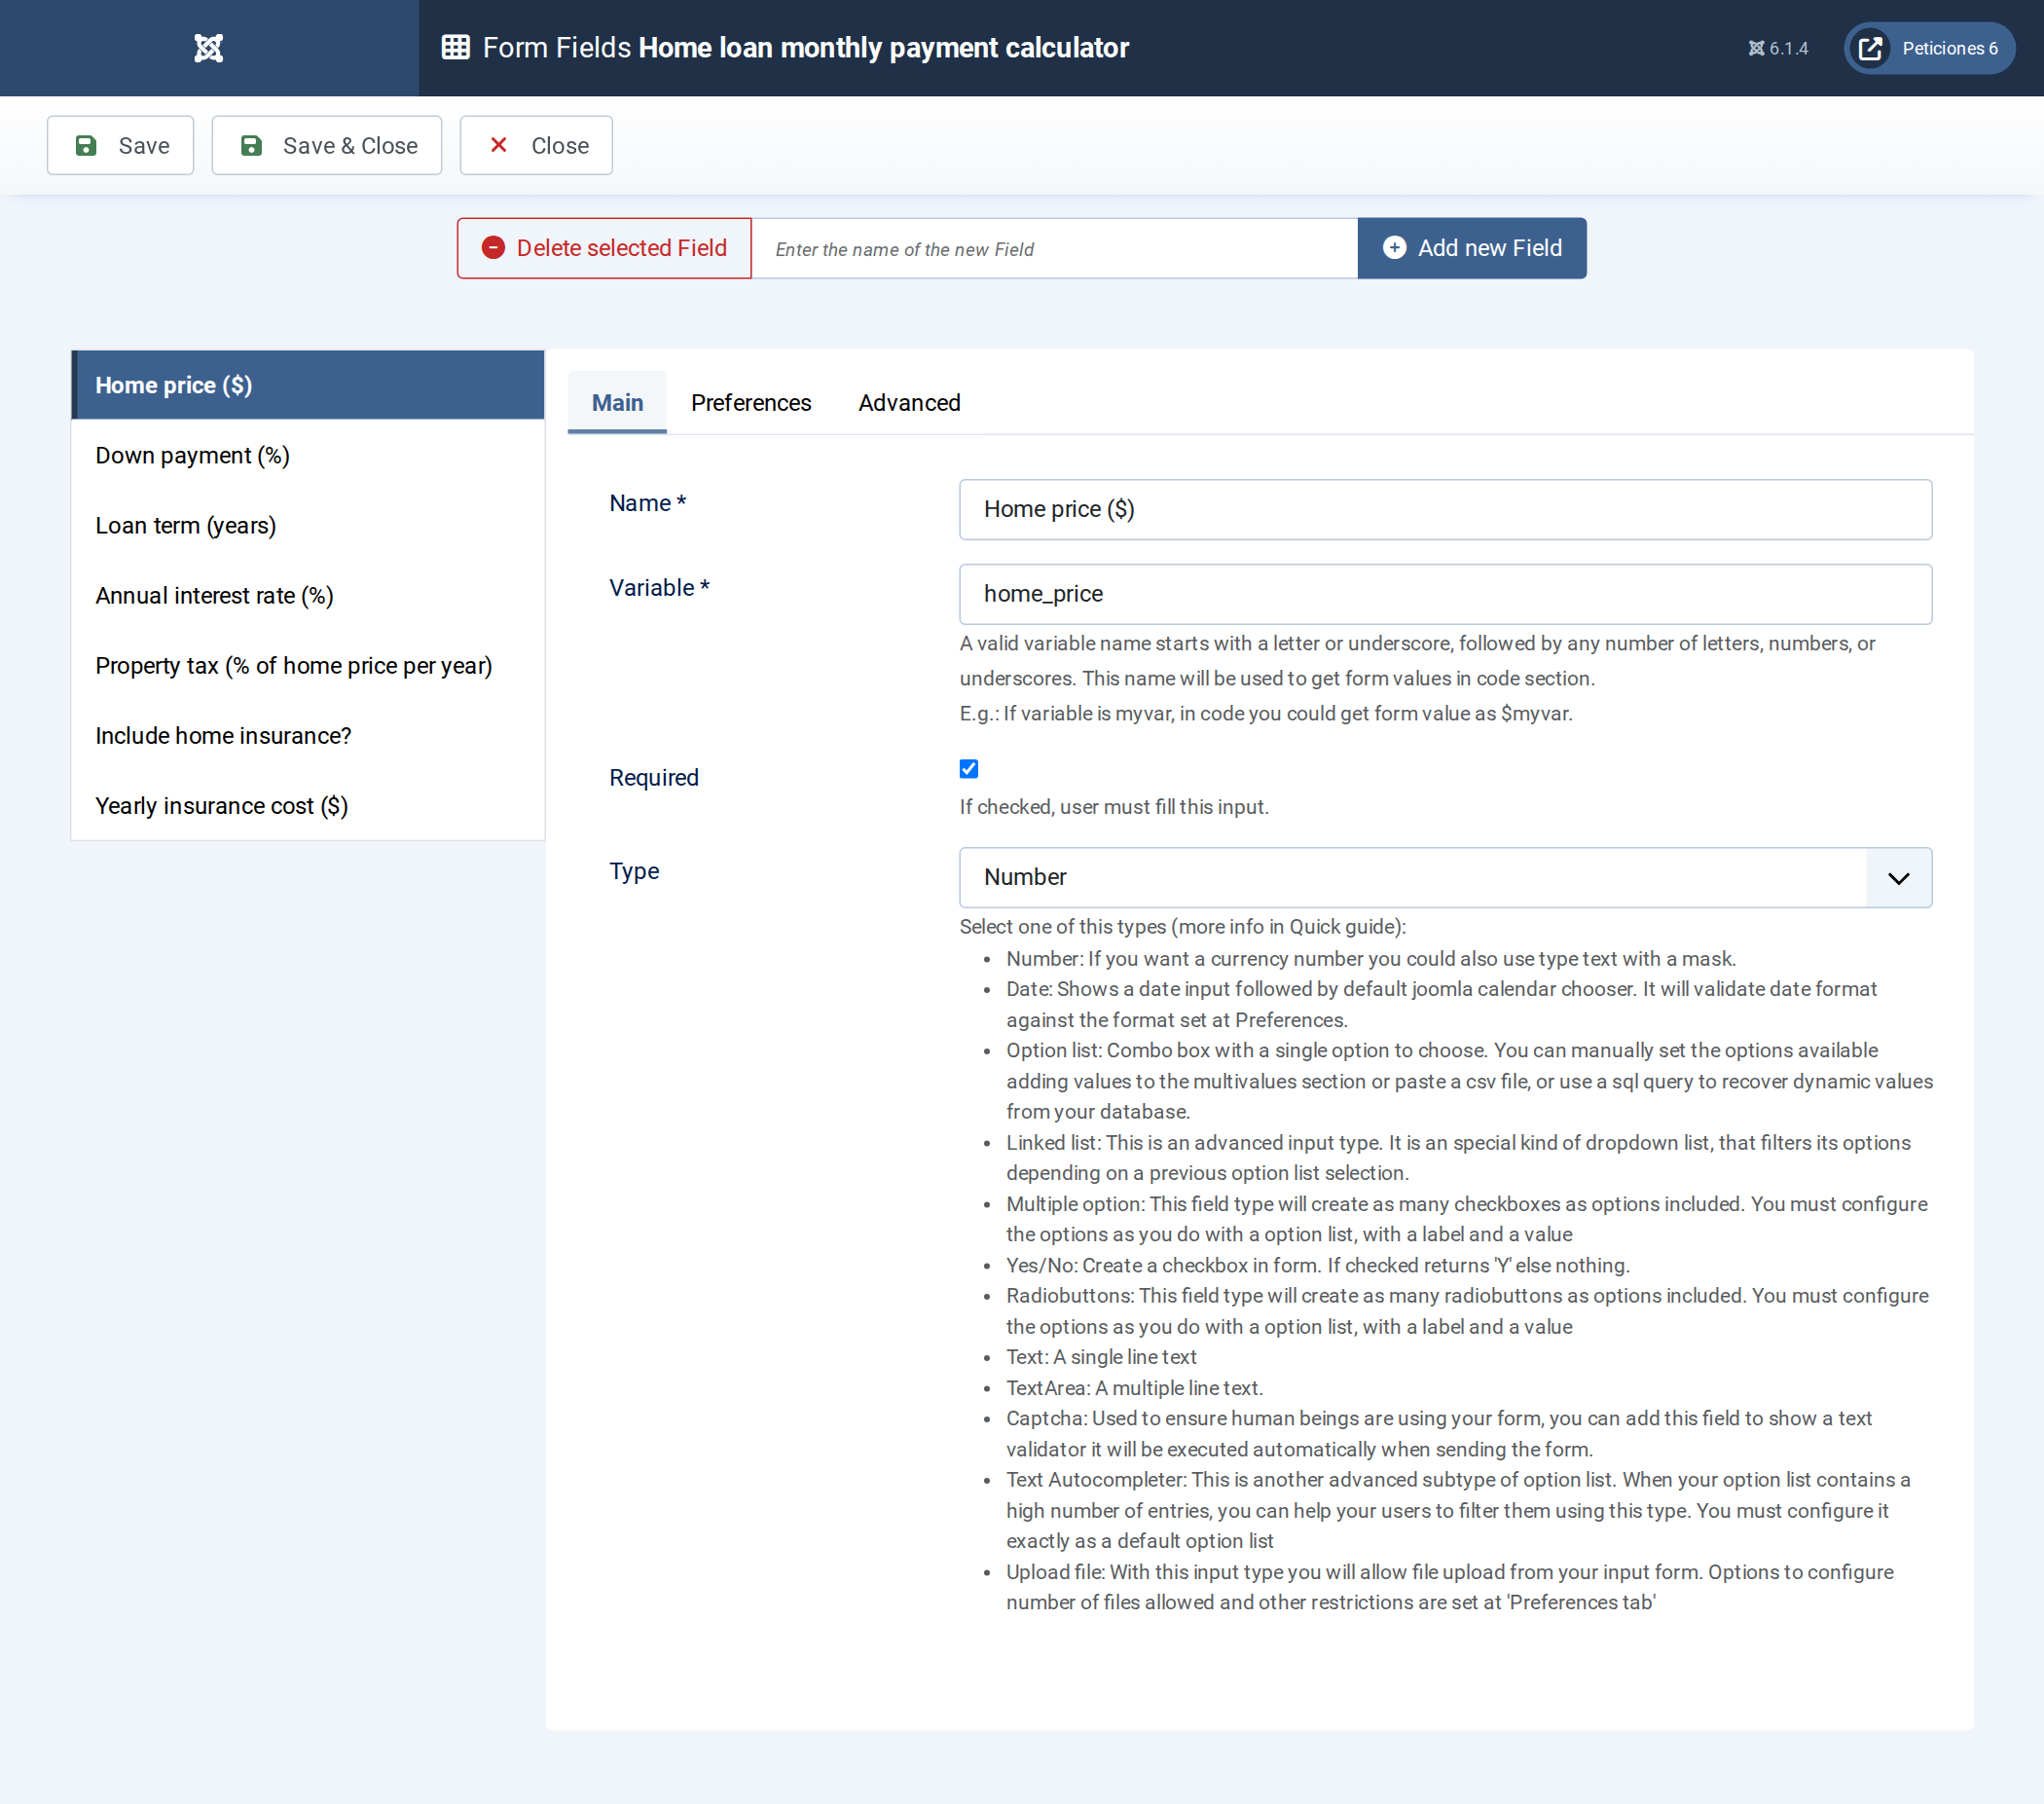
Open it: the Form Fields, code and layouts are ordinary Calc Builder settings. Always check the maths against your own examples.
Publish it with a menu item or module as described in publishing a calculator. Here a loan of $240,000 at 6.5% over 30 years gives $1,516.96 per month, which matches the formula.
6. Ask for changes
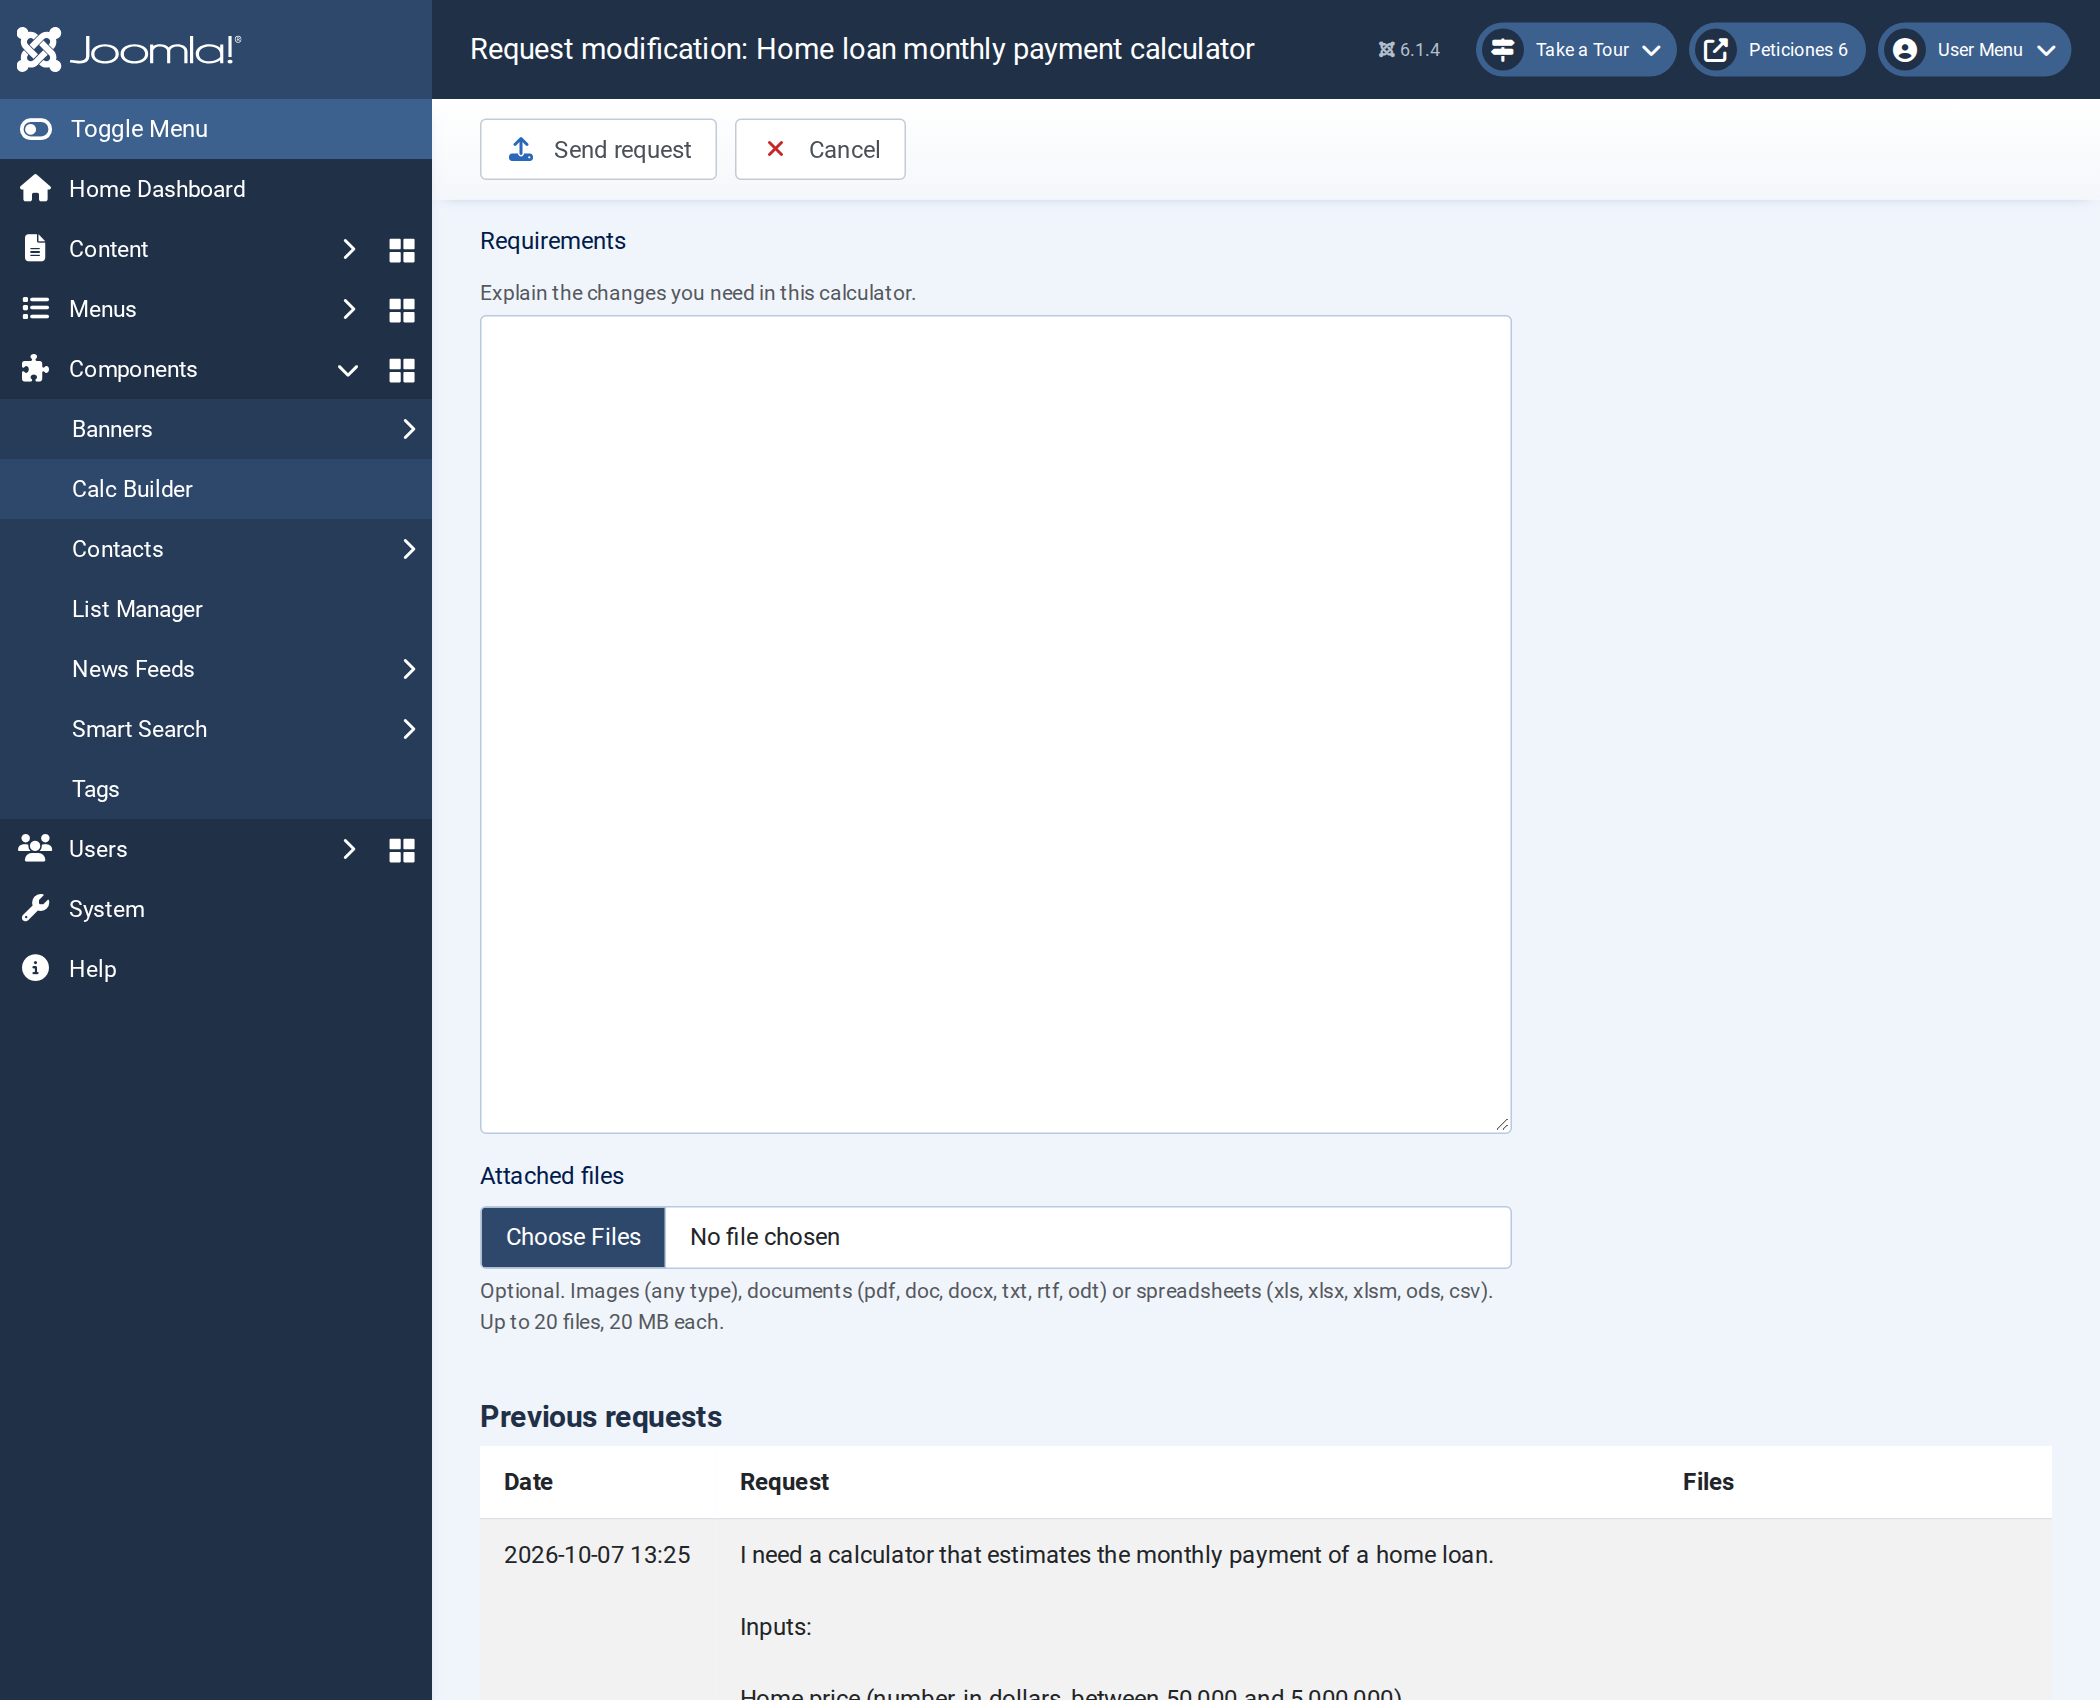
On an Active generated calculator click Request modification, describe what to change (attach files if useful) and send it. The calculator goes back to pending and is updated when ready. The page also lists your previous requests and their attachments. The button appears only while the service accepts more modifications for that calculator.
Tips
- Give concrete numbers: defaults, ranges and one or two worked examples.
- Prefer one clear request over many vague ones; use modification requests to refine.
- Edit by hand afterwards for small tweaks — see PHP code and Exit Layout.
- Prefer building yourself? See Quick Start.